In the previous tutorial you had a first look at Writer’s interface. Now you’re ready to start writing your first document.
Create a document
When you first launch iA Writer it will create a new document. Start writing. As you write you can add headings, lists, links, and many other types of formatting using Markdown, which we’ll cover in the next tutorial.
💡 When you create a new file, Writer uses the first line of your text to name it. This way you can start writing without first deciding on a filename. You can always rename your file in the File List by right-clicking on it and selecting Rename.
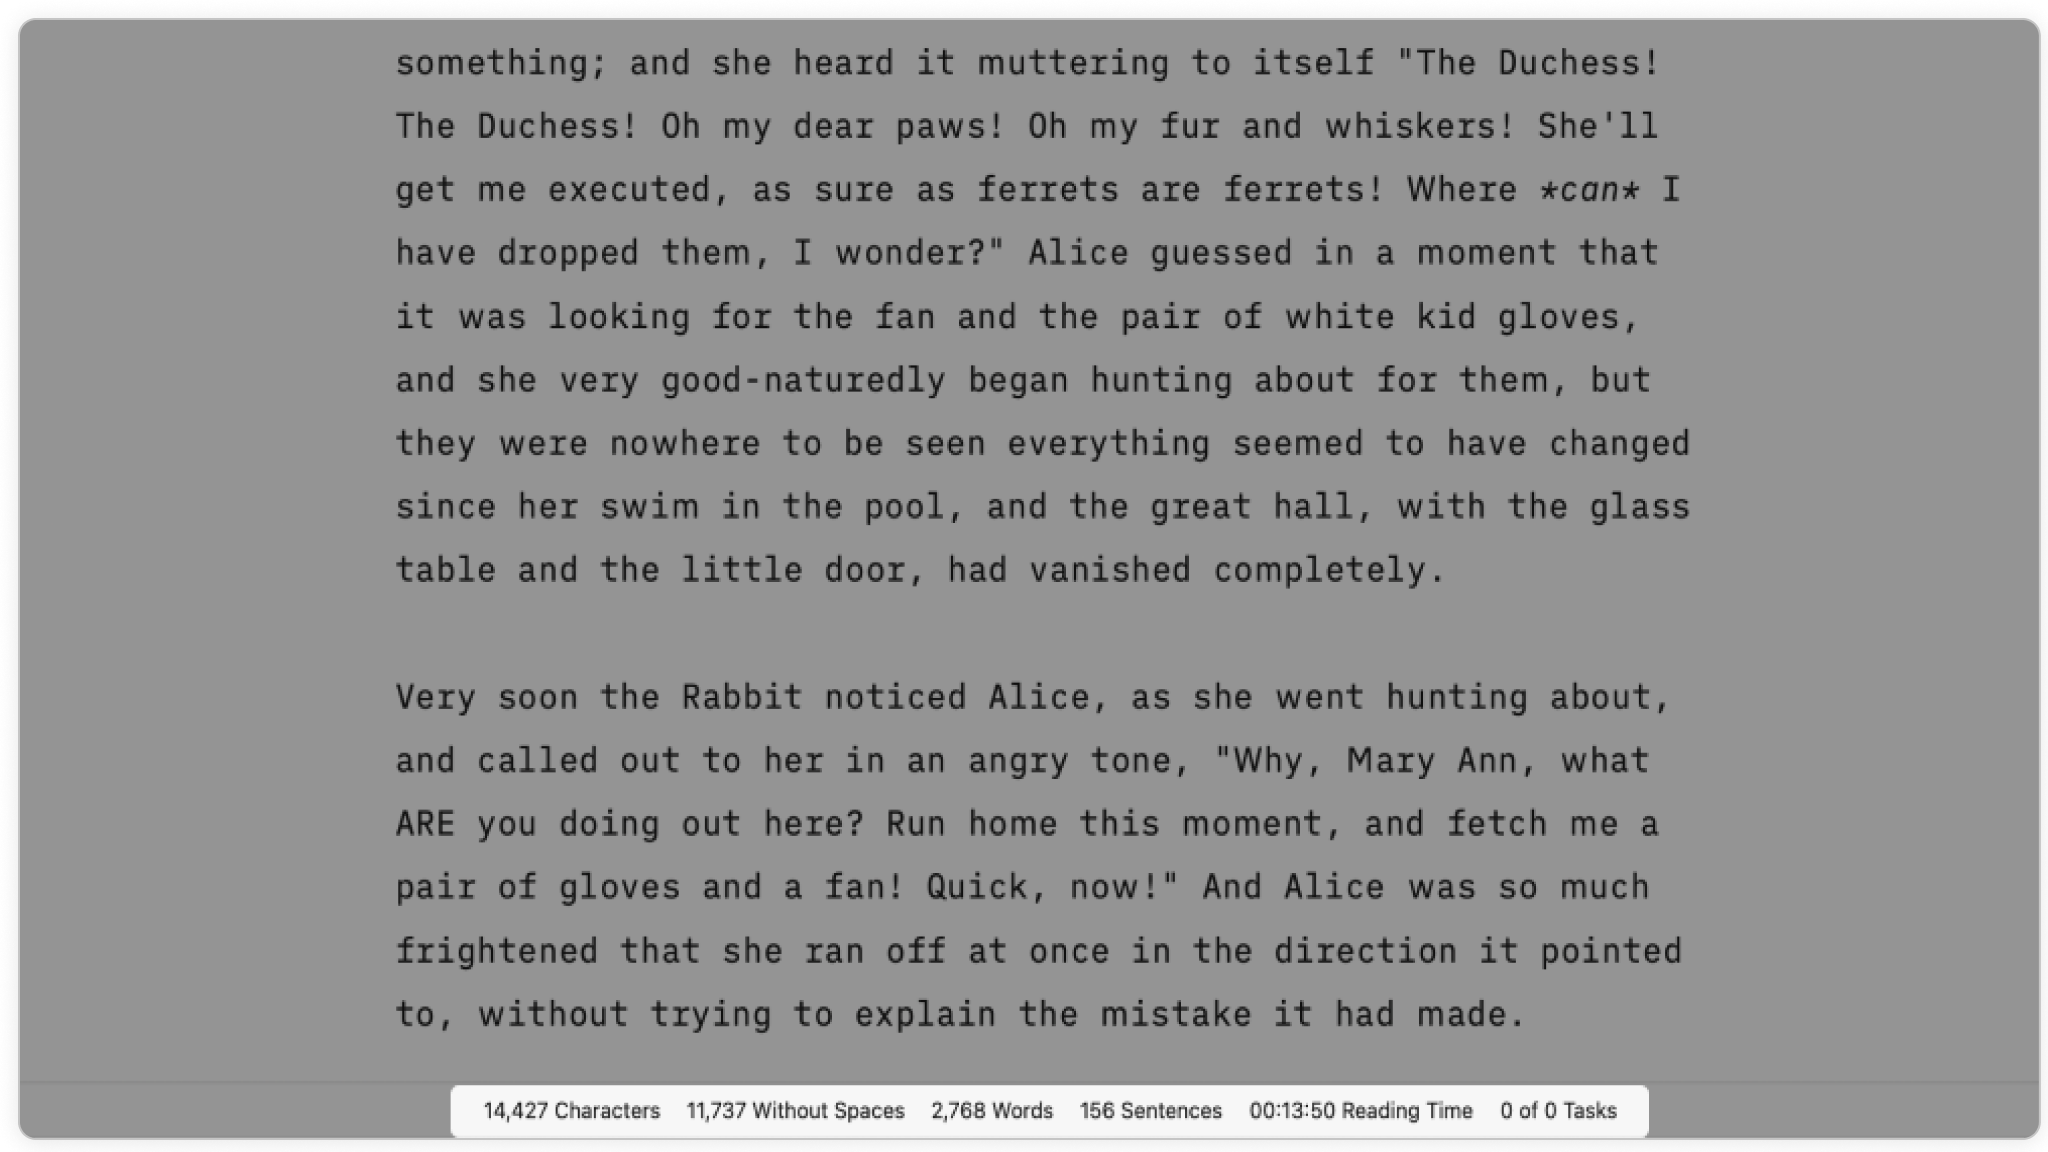
Writer shows you real-time statistics, including word and character counts, as well as the estimated reading time for your document. You can disable any statistics you don’t need.

iA Writer uses your operating system’s settings for spelling, grammar, and autocorrection. If you’re using the Windows version, Writer uses Hunspell dictionaries. Check out Writer’s Settings for additional Smart Automation and autocomplete options that can help you write faster.
Writer will save your changes every few seconds as you write, then save it once more when you close it.
Use Focus Mode
Writer comes with a feature called Focus Mode that helps you get into the flow of writing.
With Focus Mode enabled, you’ll find that text in the Editor goes gray. Only the sentence or paragraph where your cursor is located stays bright. That helps keep you focused by highlighting only what you’re writing at that moment.
The Typewriter option makes the Editor behave more like (yes, you guessed it) a mechanical typewriter by always vertically centering the Editor to wherever your cursor is.
Add Images, CSV Tables and Other Files
The easiest way to add images, CSV tables, or other files to your document is to add them as Content Blocks. Simply drag-and-drop a file to where you want a Content Block to display in your document. Keep in mind that you won’t see full images and other types of Content Blocks in the Editor—only its name. Open the Preview to see how Content Blocks will look in your rendered document.
💡 If you’re adding a table as a Content Block, first make sure it’s a comma-separated value (CSV) file. Most spreadsheet apps have the option to save as CSV.
You can also add a file manually using Markdown, for example:
 Or, use this format when you want to add a file from an online source:
All done—you now have a good idea of how the Editor works, but you’ll find there’s lots more you can do. In the next tutorial, we’ll take a closer look at how using Markdown can help you create beautifully formatted documents.

