Modify the Preview Windows
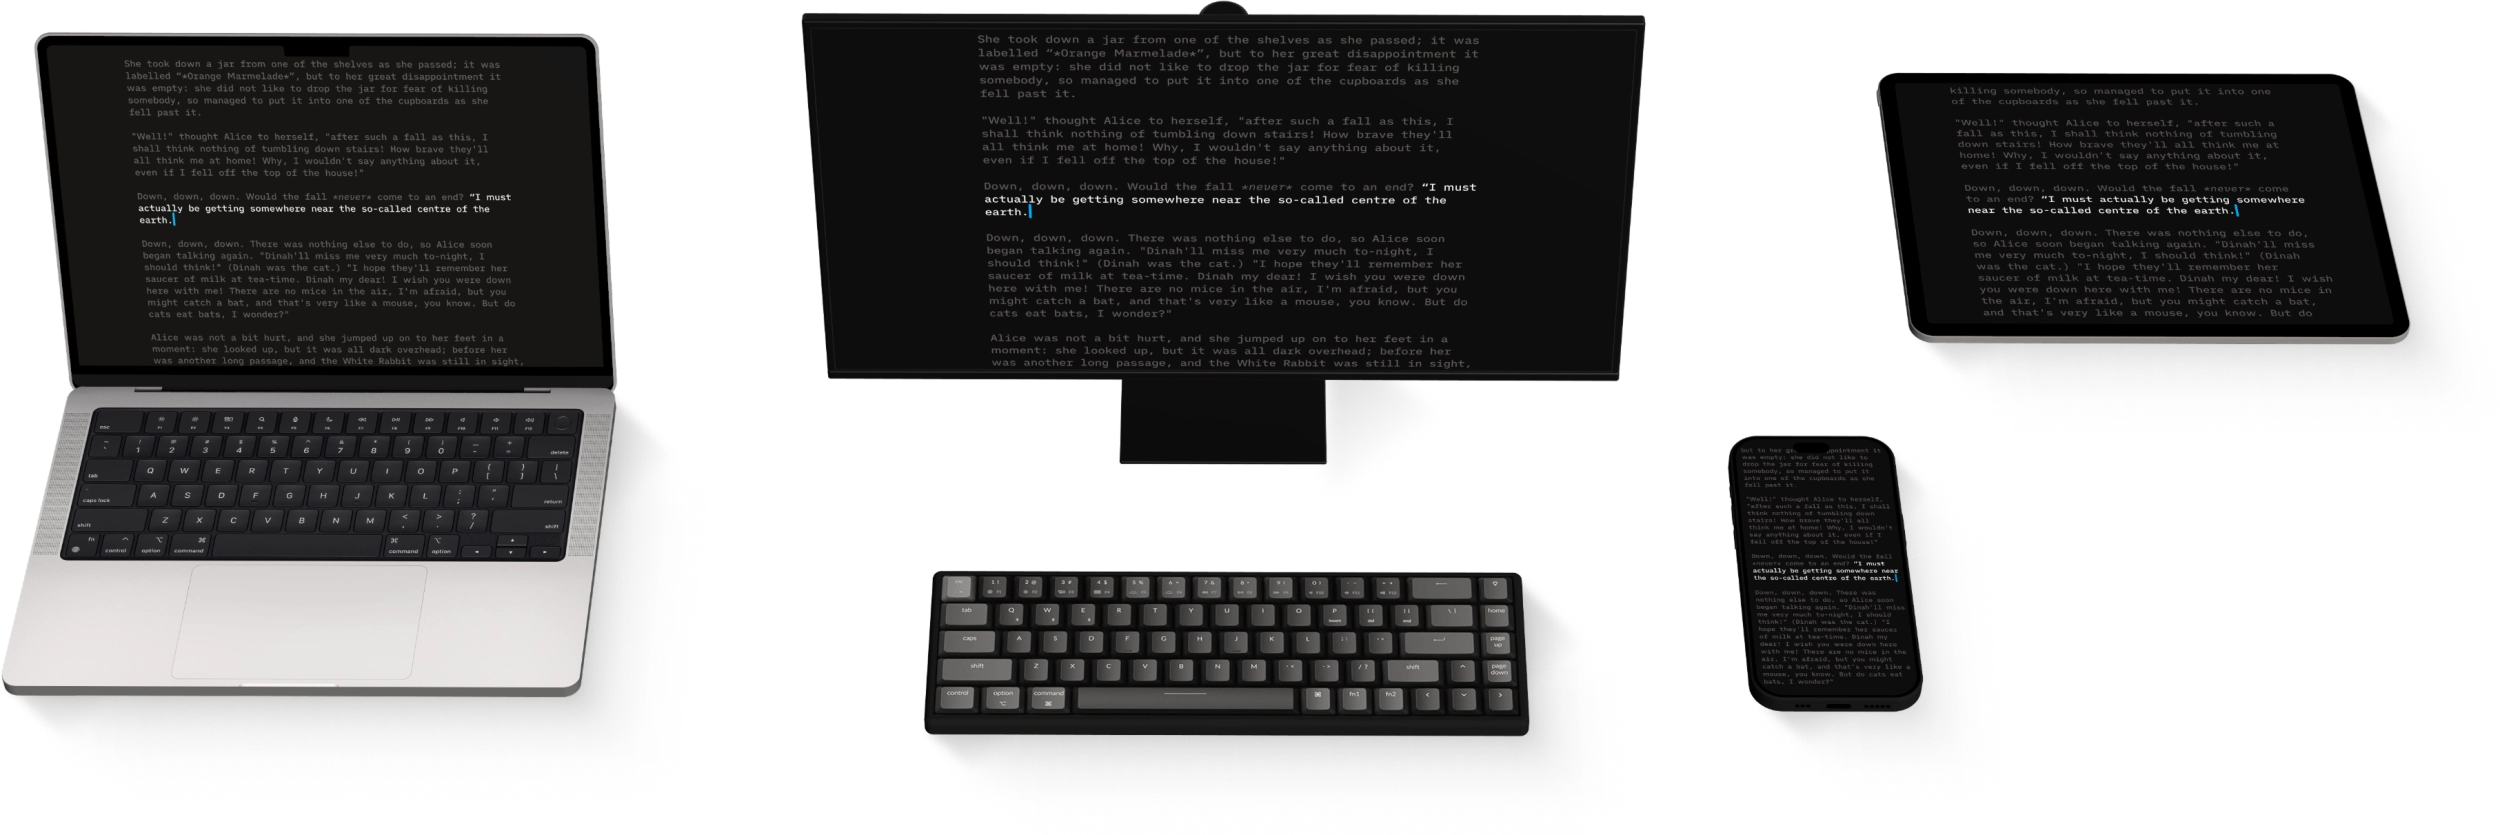
In Preview you can visualize how your document will appear when exported or printed.
This feature allows you to view rendering in various Templates. From Preview, you have the options to adjust the fonts, layout, and background color.
You can open Preview via:
- Menu View → Preview
- Keyboard shortcut CtrlR
- Preview play button
Web & PDF Modes
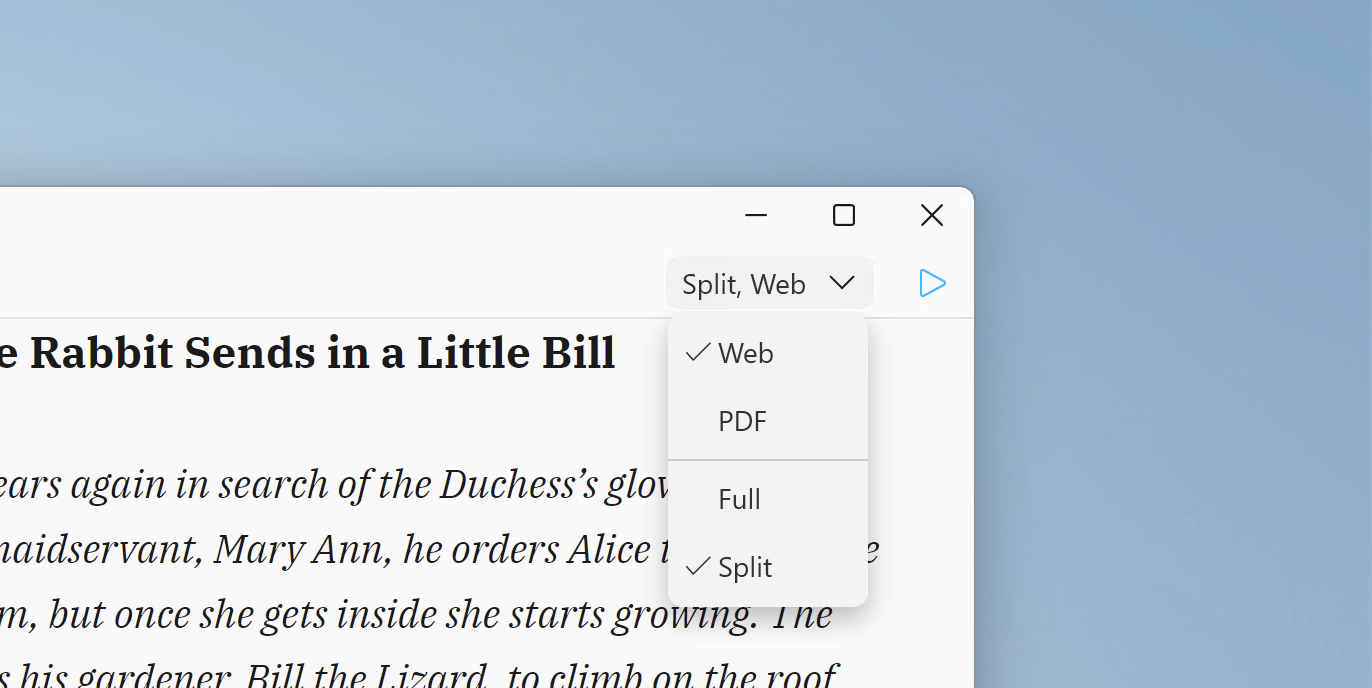
You can choose between Web mode (rendering HTML) or PDF mode: simply select your desired option from the dropdown.
Additional formatting options are available in PDF mode via Settings → Templates. Learn more about this on our dedicated page: Settings.
If you make changes, you can click the refresh button at the bottom of the PDF preview to see these changes reflected.
Choose View → Preview Options to show Preview side by side with the Editor or in full width. The same menu switches between Web and PDF.
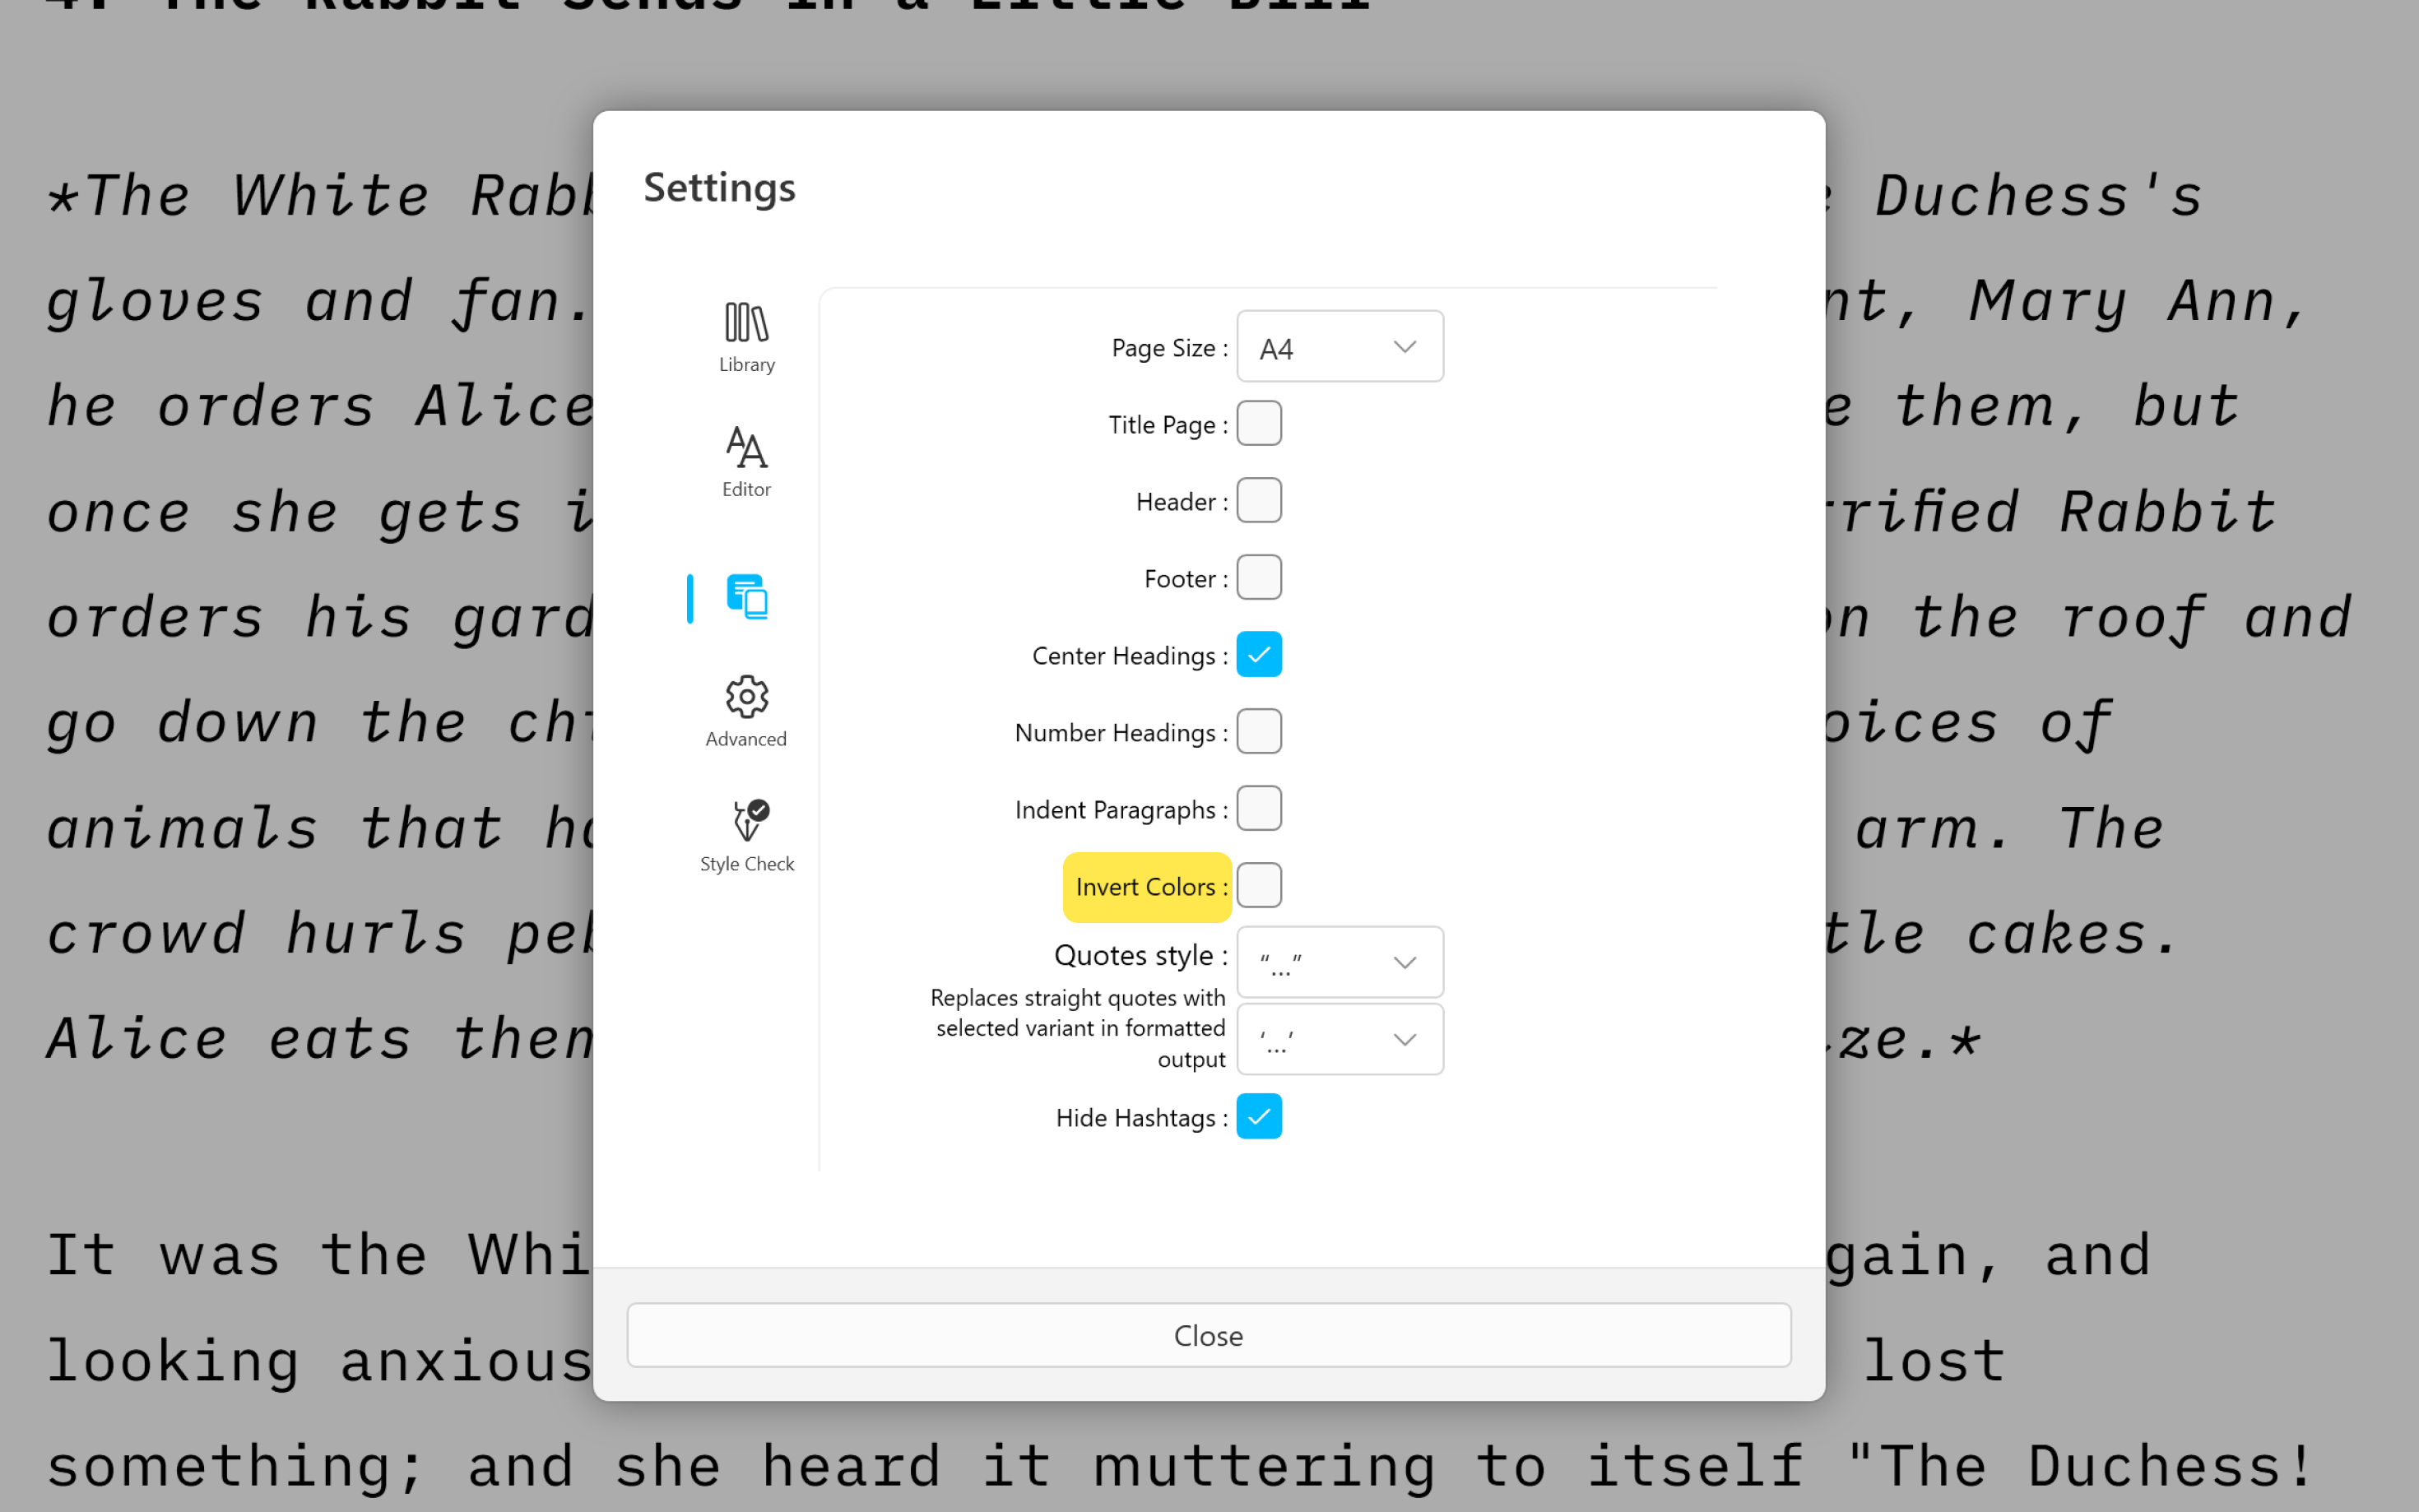
In Web mode you can accentuate the difference between the Editor and Preview by setting Invert Colors: File → Settings → Templates → Invert Colors.
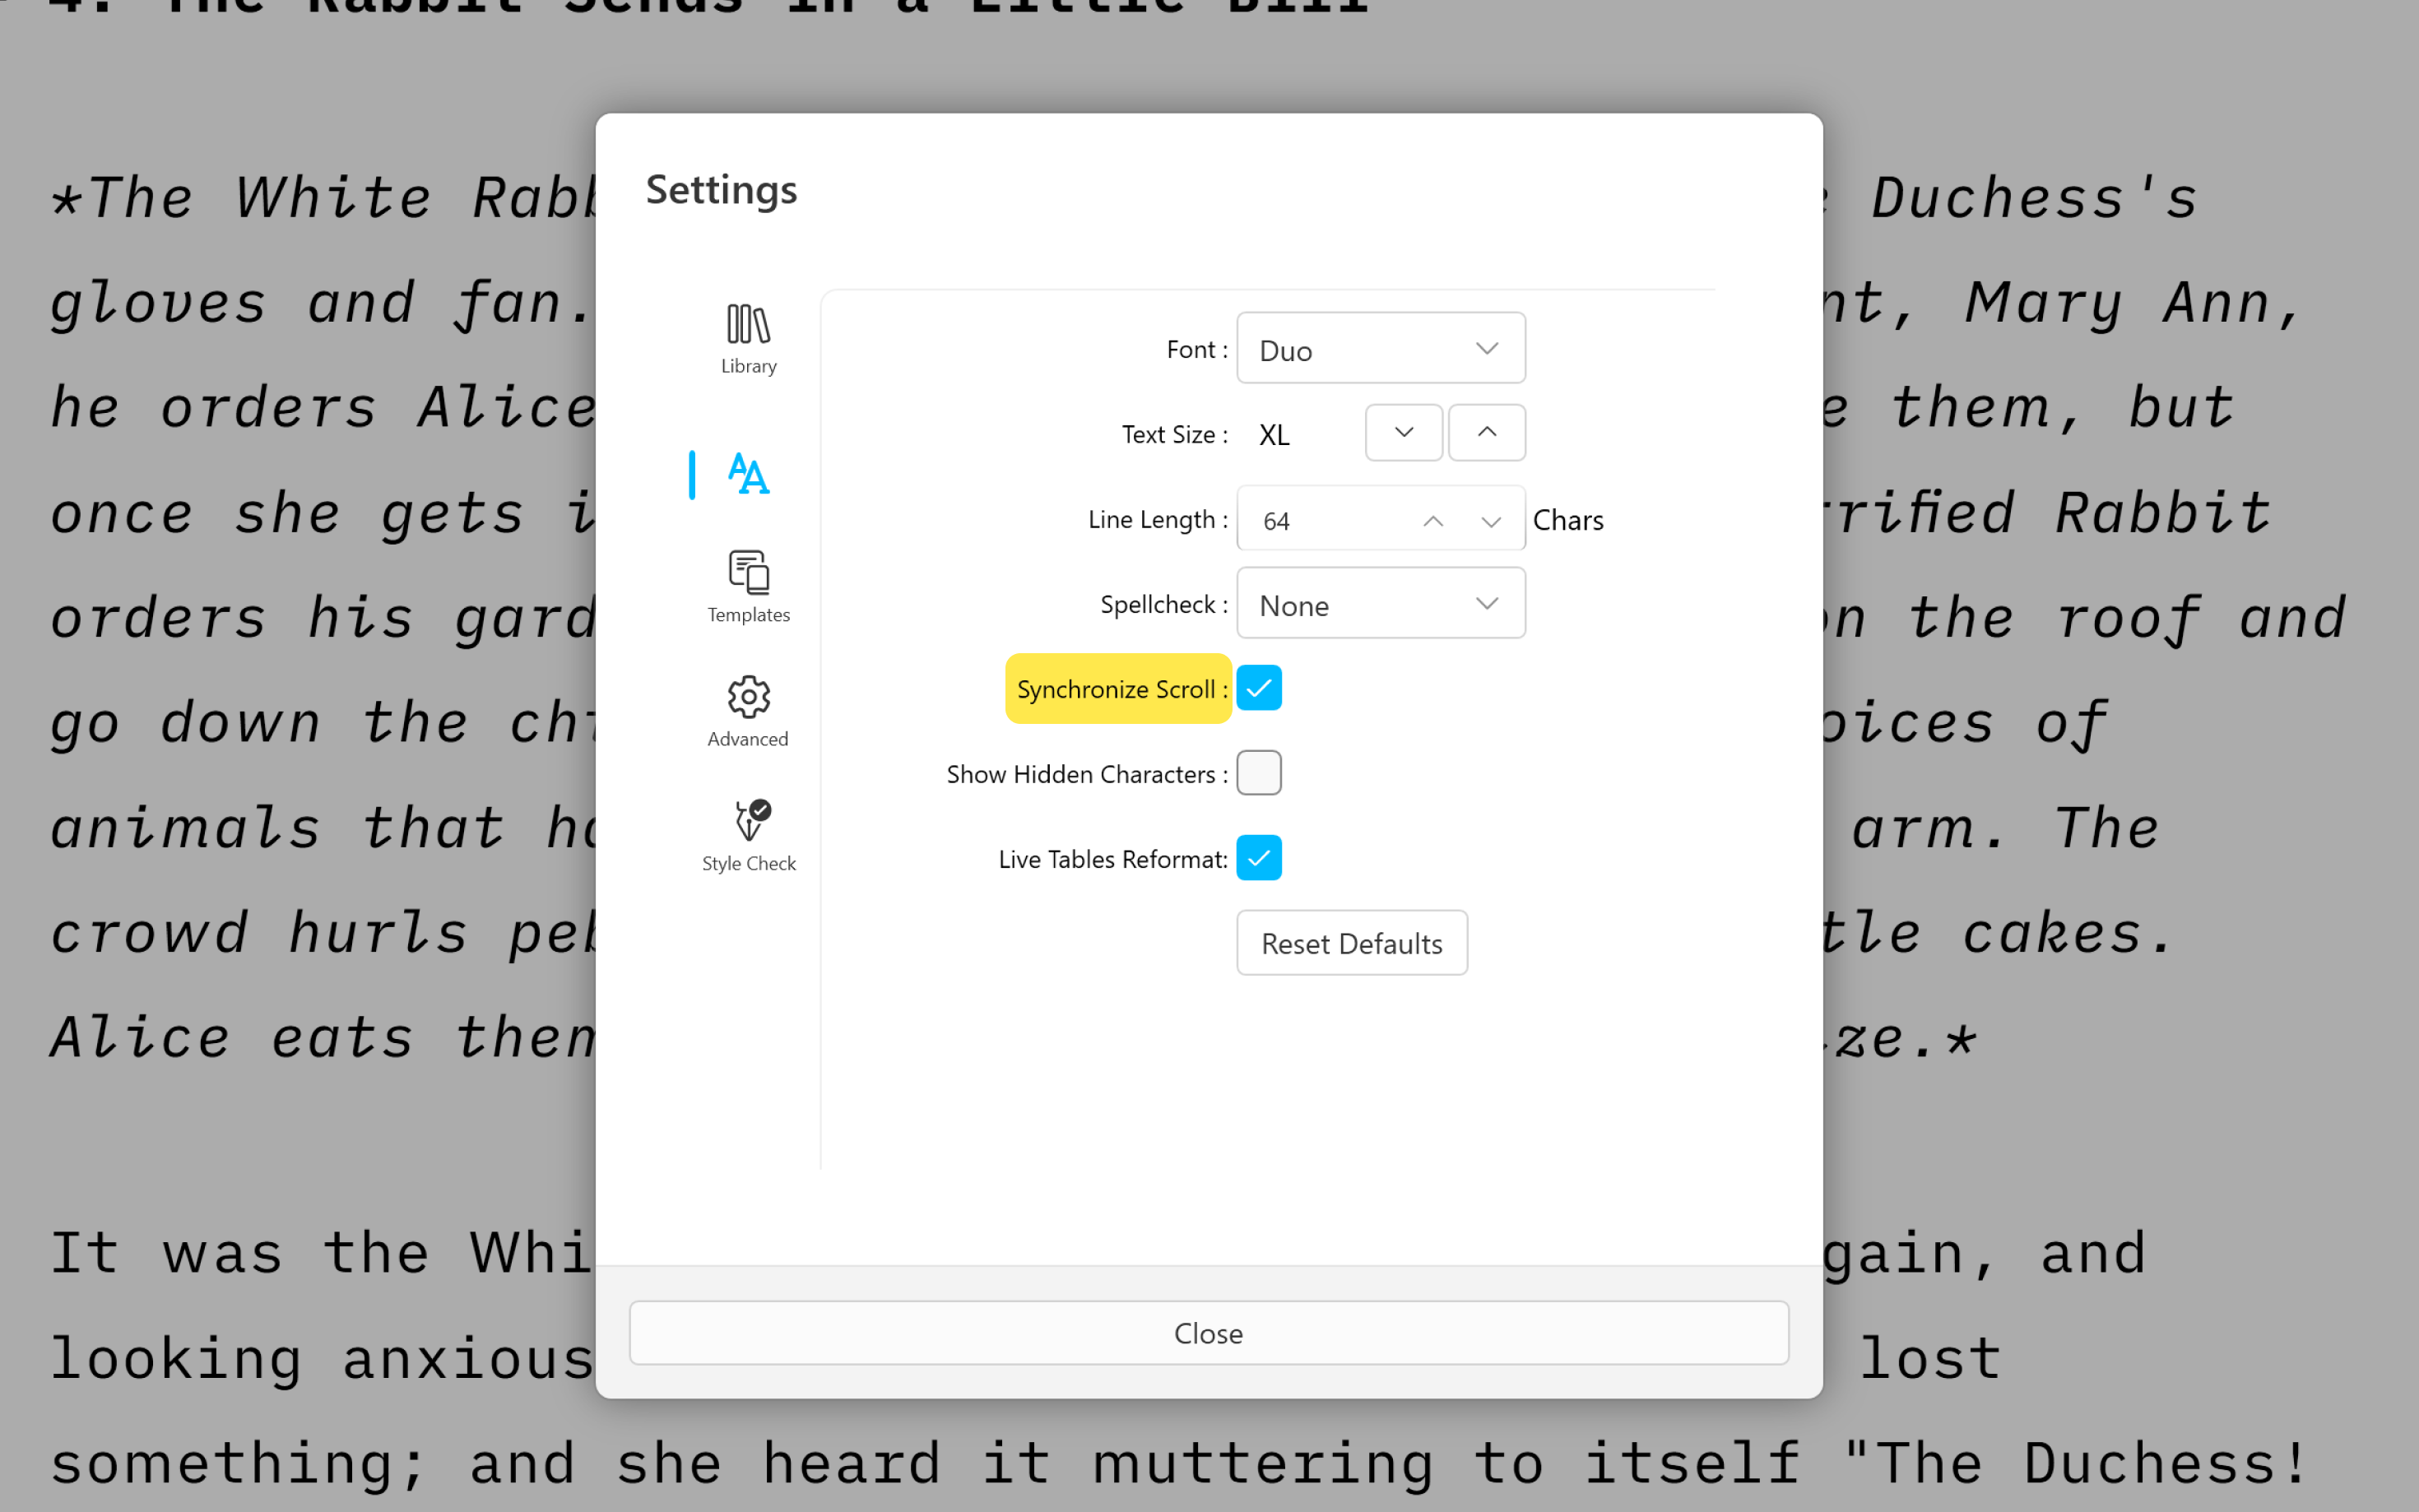
By default, Preview will scroll in sync with the Editor. If you wish to decouple and scroll panes independently, you can disable this in File → Settings → Editor → Synchronize Scroll.
Fonts & Layout
You can modify the font and layout of the document in the Preview thanks to the Templates:
- via the Toolbar (middle of Preview)
- in the Menu select View → Templates

Preview determines what Export will look like. In the case of PDF, the currently selected typography in the Preview will be used.
A Little Extra…
If you are familiar with web development, you surely know the inspector tool lets you see parts of the code rendered by the page, such as HTML and CSS. You can enable the Web Inspector tool in the Preview, if you’d like to see what your document looks like, under the hood.
On Windows, you can enable the Chromium inspector by using the keyboard shortcut: Ctrl J
More about that in this quick video tutorial:
Modify the Preview
7-Day Free Trial
Download now.
No credit card required.