Layouts

Presenter analyzes your slides’ contents and chooses the best layout for you. Here’s how to make sure your presentation will come out picture-perfect every time—on any device.
With Presenter your layouts are responsive, which means your presentation automatically adapts to different screens, projector ratios, Zoom windows, tablets, and phones. No more endless fiddling to make sure it fits.

When Presenter chooses a layout for your slides it looks at the:
- Number of visual blocks in the slide
- Types of graphics in each block
- First heading level of each block
- Order of these blocks in the slide
Do you really need to know this? No. But it may help you understand what factors Presenter takes into account when it assigns a layout to your slide.
To add and choose a layout for a slide, click the layout picker button + on the left of the toolbar. Here you’ll find 18 distinct layouts to choose from.

Single-Celled Slides—or Two?
Slide content lives in cells. In general, the more you spread content across different cells in a slide, the better the layout will be.
For best results, add a line break by pressing ↵ twice between each element on a slide, such as between a heading and an image. Without line breaks, two or more elements will share the same cell.
In the first example below, a title and image are in separate cells. This looks good. In the second example, they share the same cell:


As with any rule, there are exceptions. In some cases two elements that share the same cell can lead to a pleasing effect, depending on what content you use. For example, a title and subtitle can work well when they’re part of the same cell:


Using Layouts
Adding Titles
Presenter comes with several types of titles. Choose an H1 (title) for your presentation’s cover slide. If you want to add more details here, try adding an H3 or H4 in the same cell.
Add an H2 to create a centered title, which works great for prominent sections.
For smaller subsections, try either an H3 or an H4, both of which are easily readable.

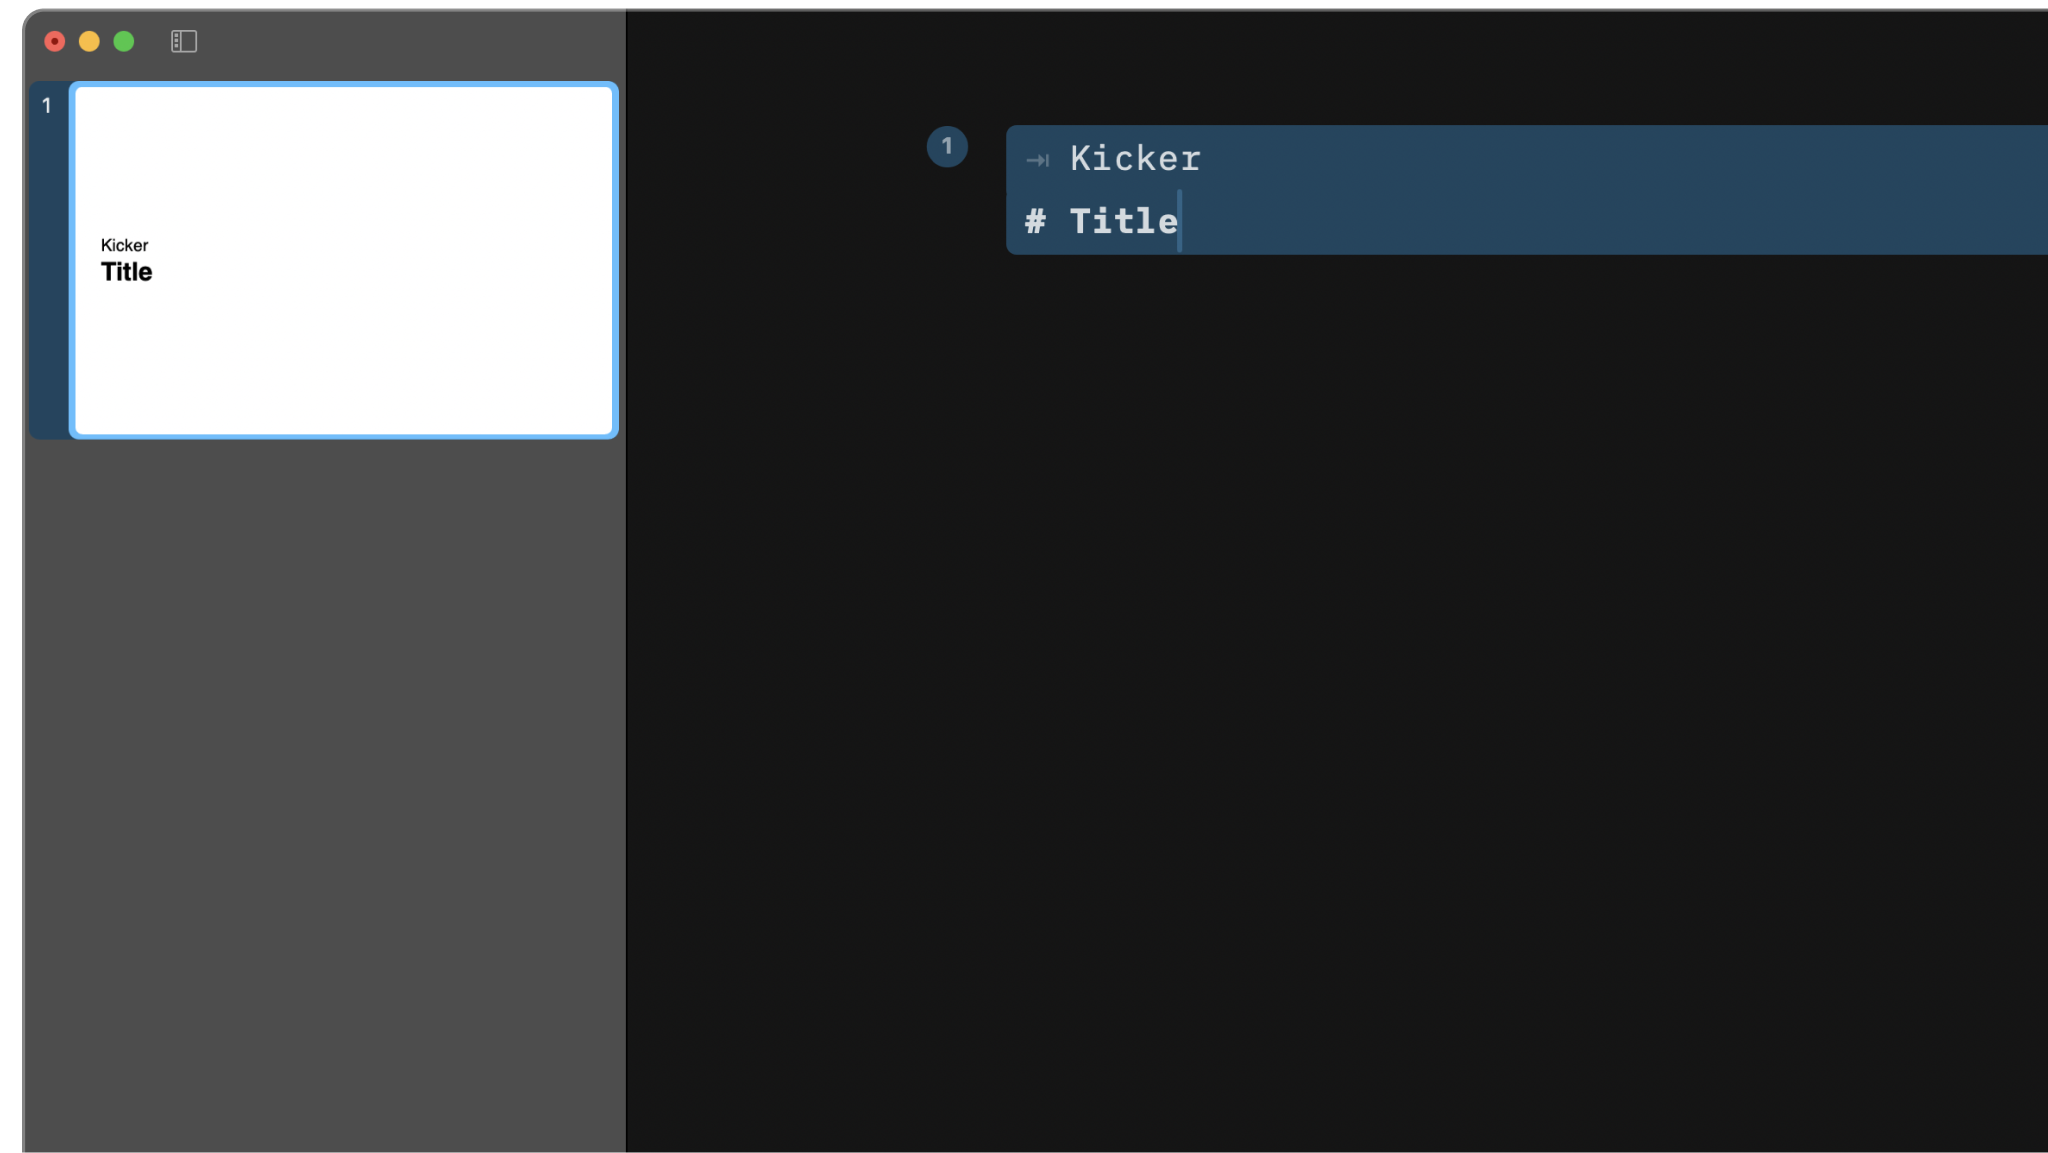
Tip: Kickers are cool—these are small headlines you often see just above the main title. To create a kicker, press
Text
Reading out lots of text on a slide will probably put your audience to sleep—but occasionally you may need to show body text on a slide. Here’s how.
Start your text paragraph with a tab ⇥. Adding an indentation like this will change your text from speaker notes (that are only visible to you) and display it on the slide instead.

Doing the Splits
When you add a line break (press ↵ twice) between two elements they will be separated and vertically display side by side. Splitting is useful when you want to compare two images, or two bits of text, for example. You can add up to 3 elements side by side.
If you want to arrange elements horizontally, such as having a title on the top and an image directly below it, do not use a line break. Instead, keep both elements in one cell.
Grid Work
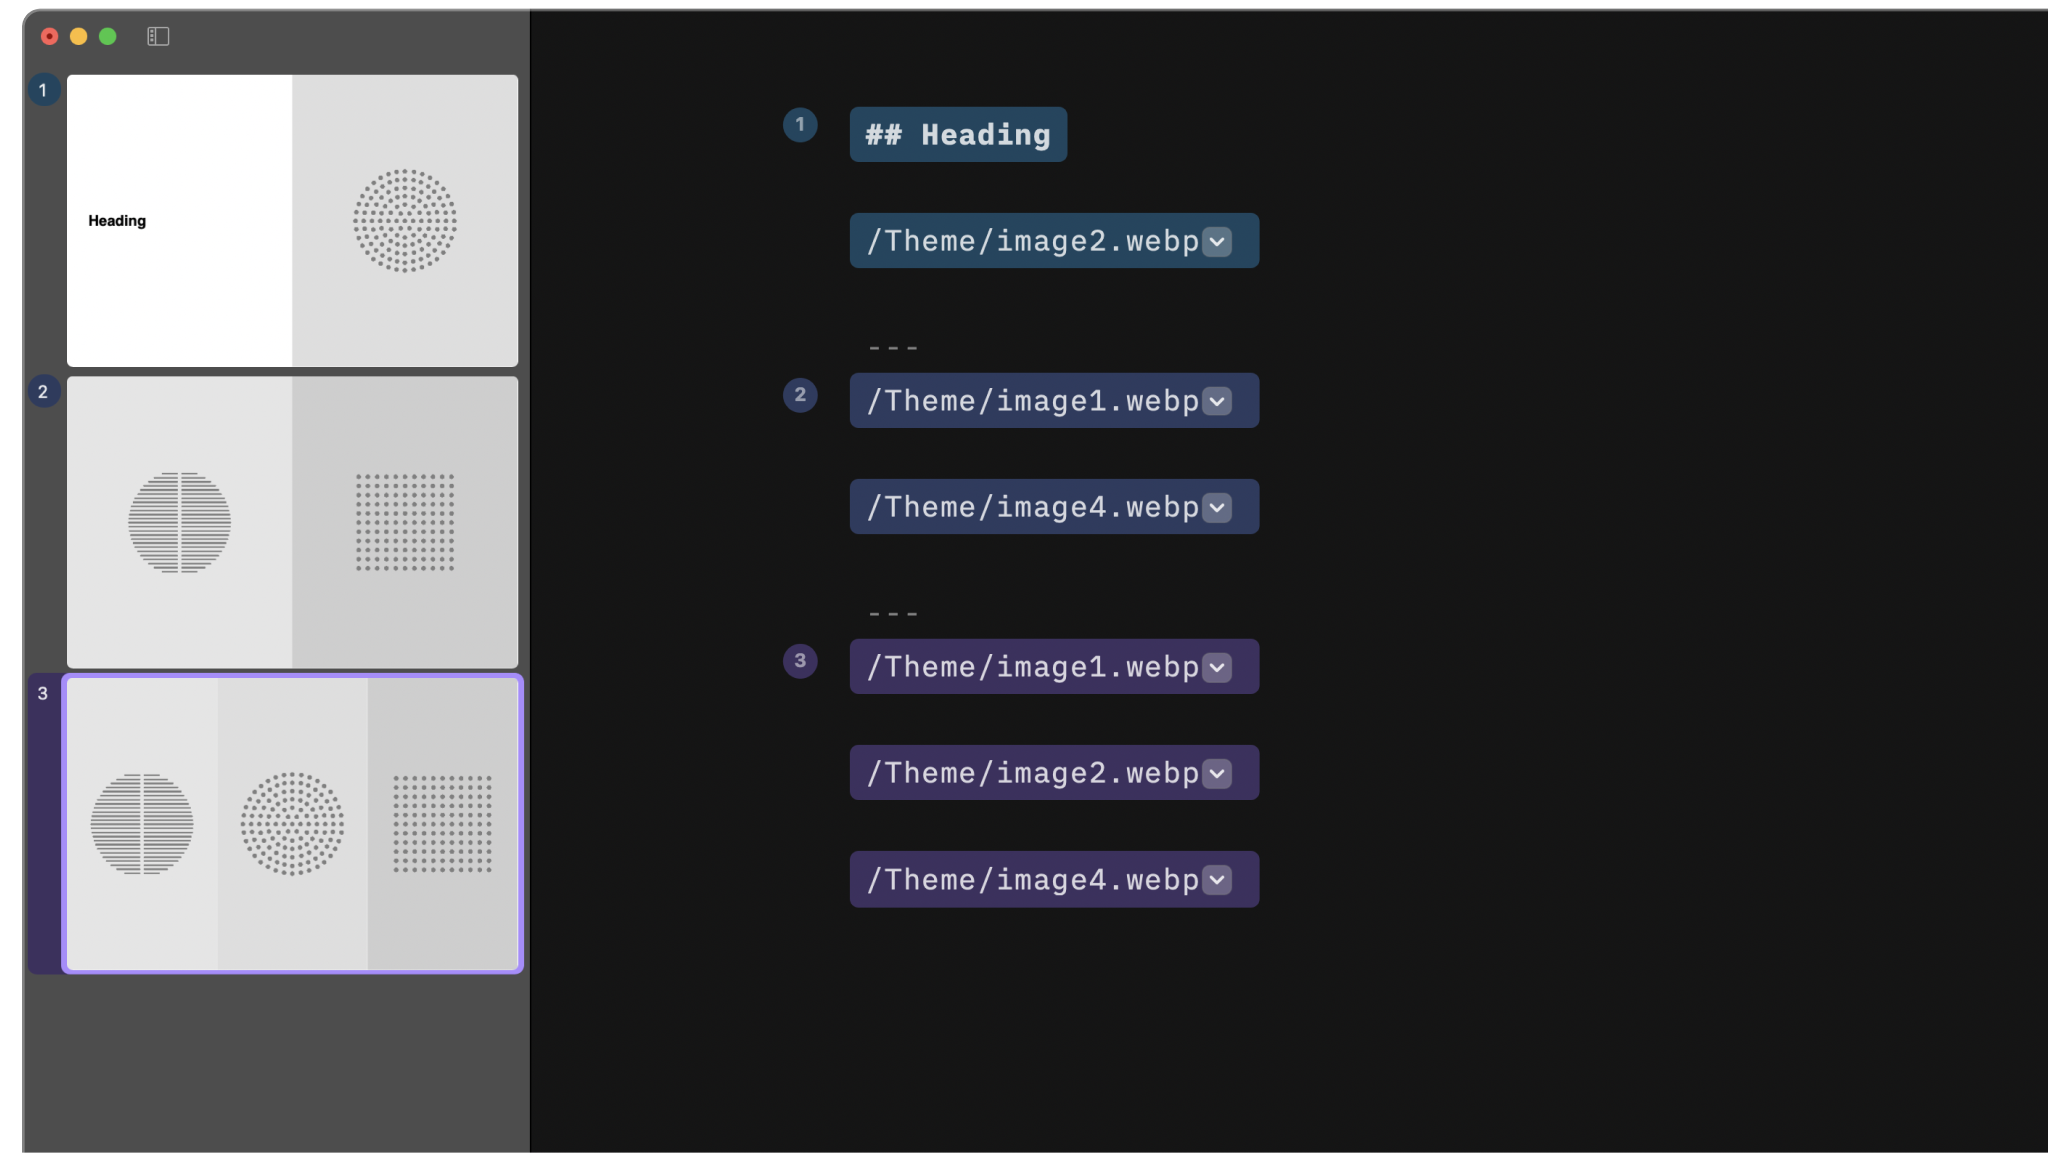
If you have four or more elements on a slide, Presenter will arrange them in a grid layout. Grids let you combine various elements such as text, images, and titles, all on the same slide.
To change the sequence of the grid, reorder your elements in the Editor. The element’s size will adjust to fit the grid. Occasionally a grid may not display a picture the exactly how you want it to. In that case, try out the Images options such as Cover or Contain.

Adding Captions
To add large captions to your pictures, use a combination of an H4 heading and an image. Where the caption appears depends on the order in which you place the image and text. No matter which order you choose, the caption’s text size will stay the same.
If you place the H4 heading first, you’re introducing the image. By contrast, showing the image first makes it more prominent, while the caption below it adds more context.

Using an Image as a Background
You can enhance your presentation cover or regular slides by adding a background image that always appears behind titles or text.
To set a background image, select the dropdown next to it in the Editor and select Background from the menu.
If your background image’s colors make the text above it difficult to read, try out some image filters—or adjust the image’s opacity. More about those options in our Images section.

 Visuals
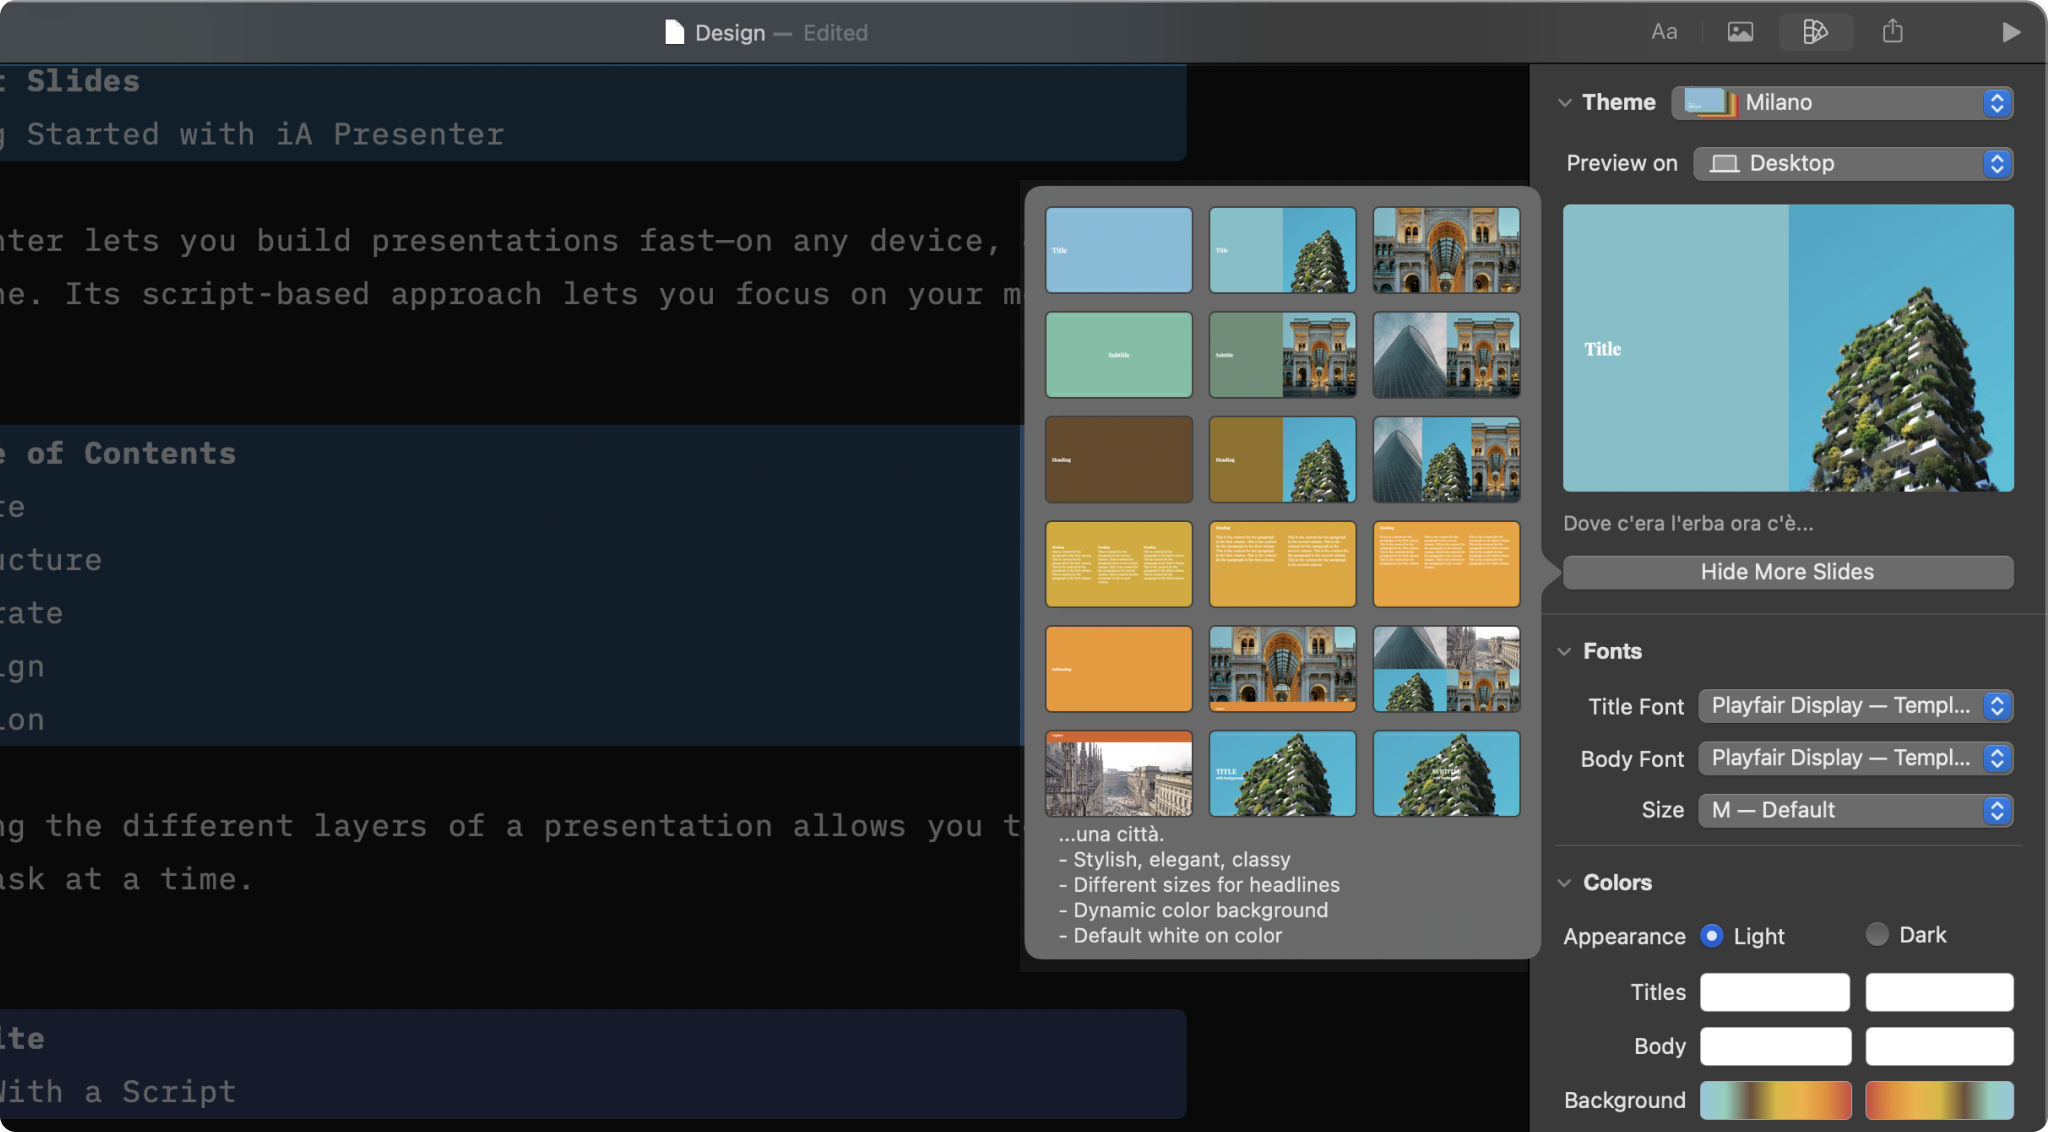
Design
Select a theme and slightly tweak it from the Design Menu
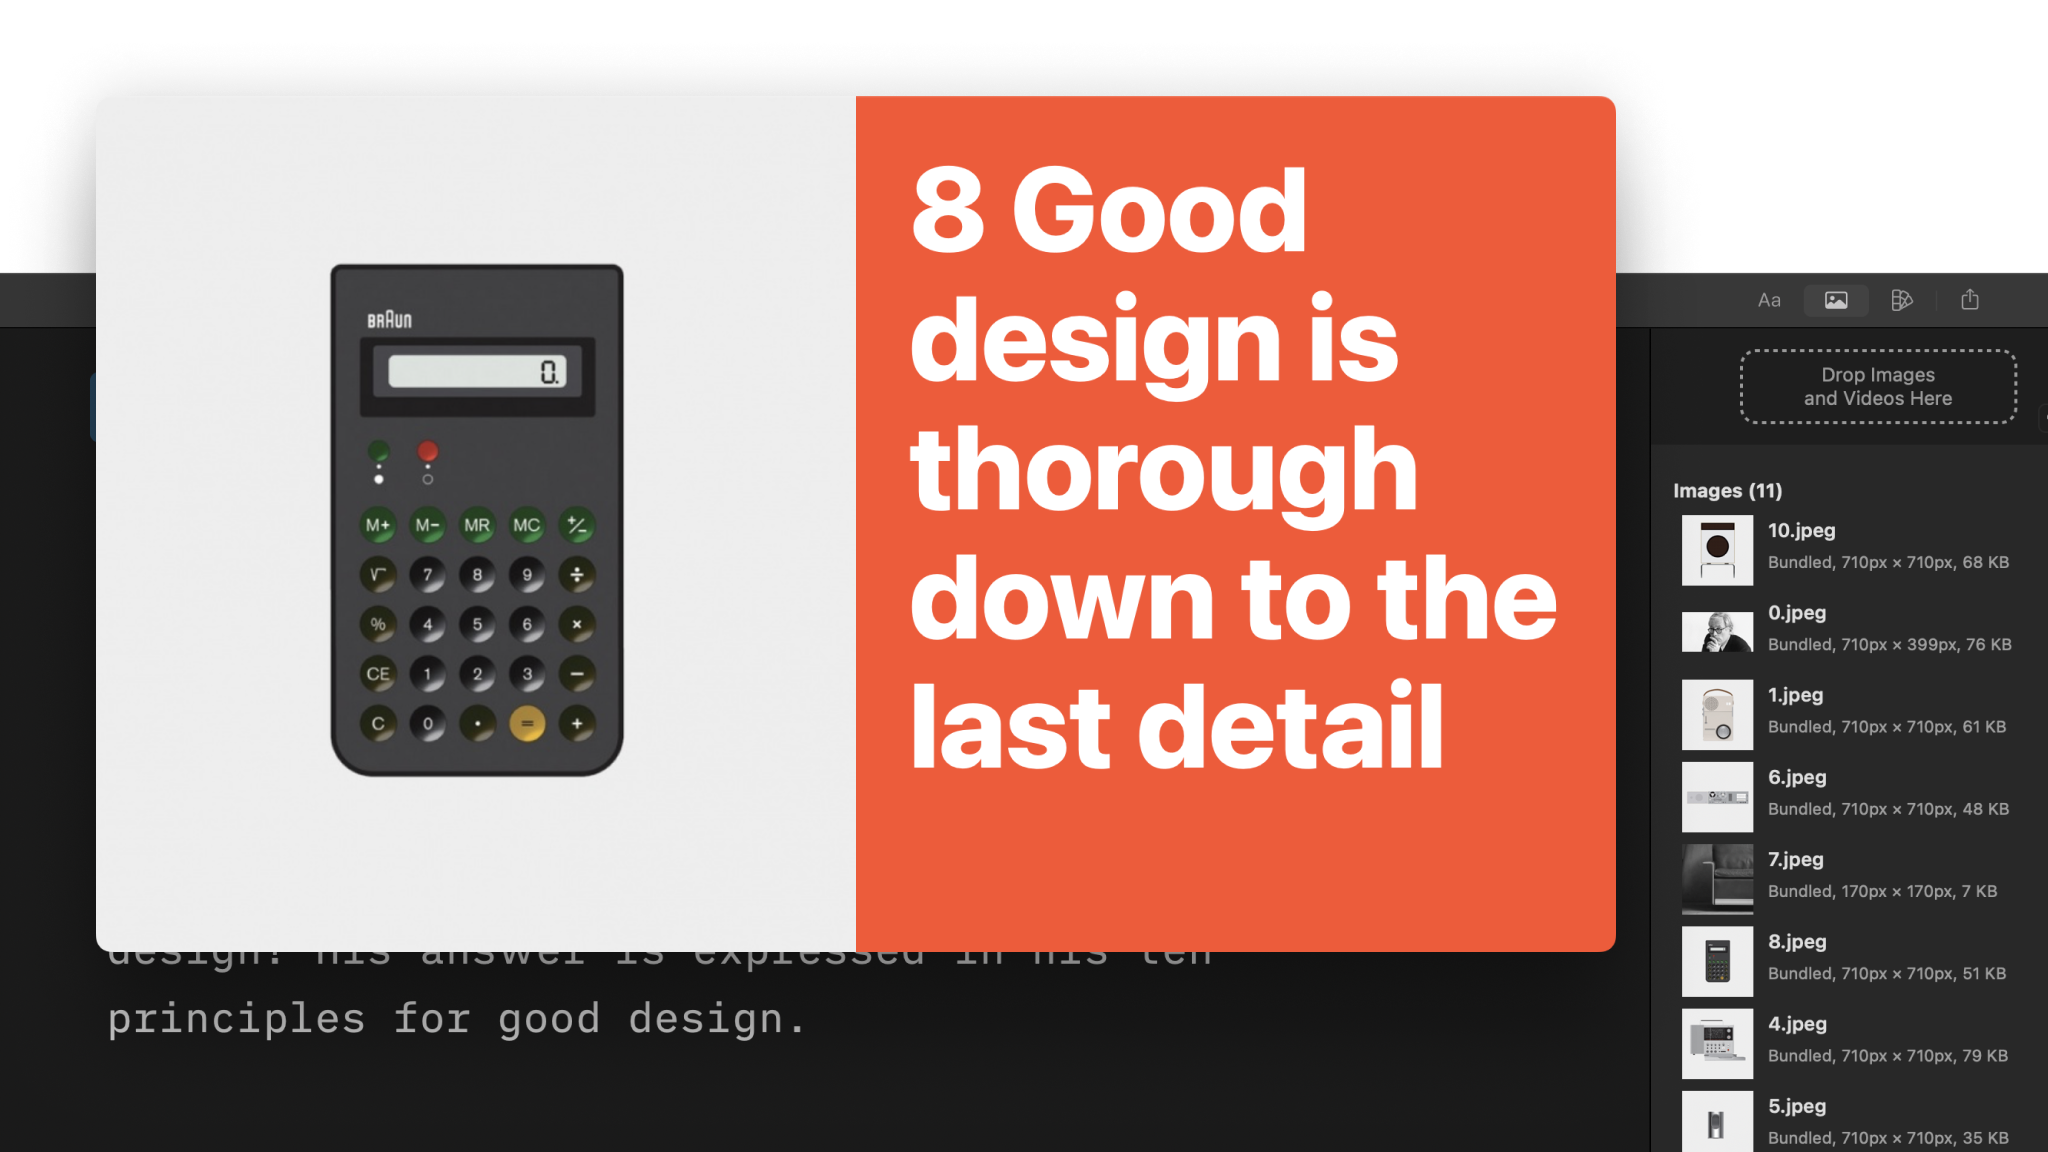
Images
Adding images to your presentations is as simple as a drag and drop.
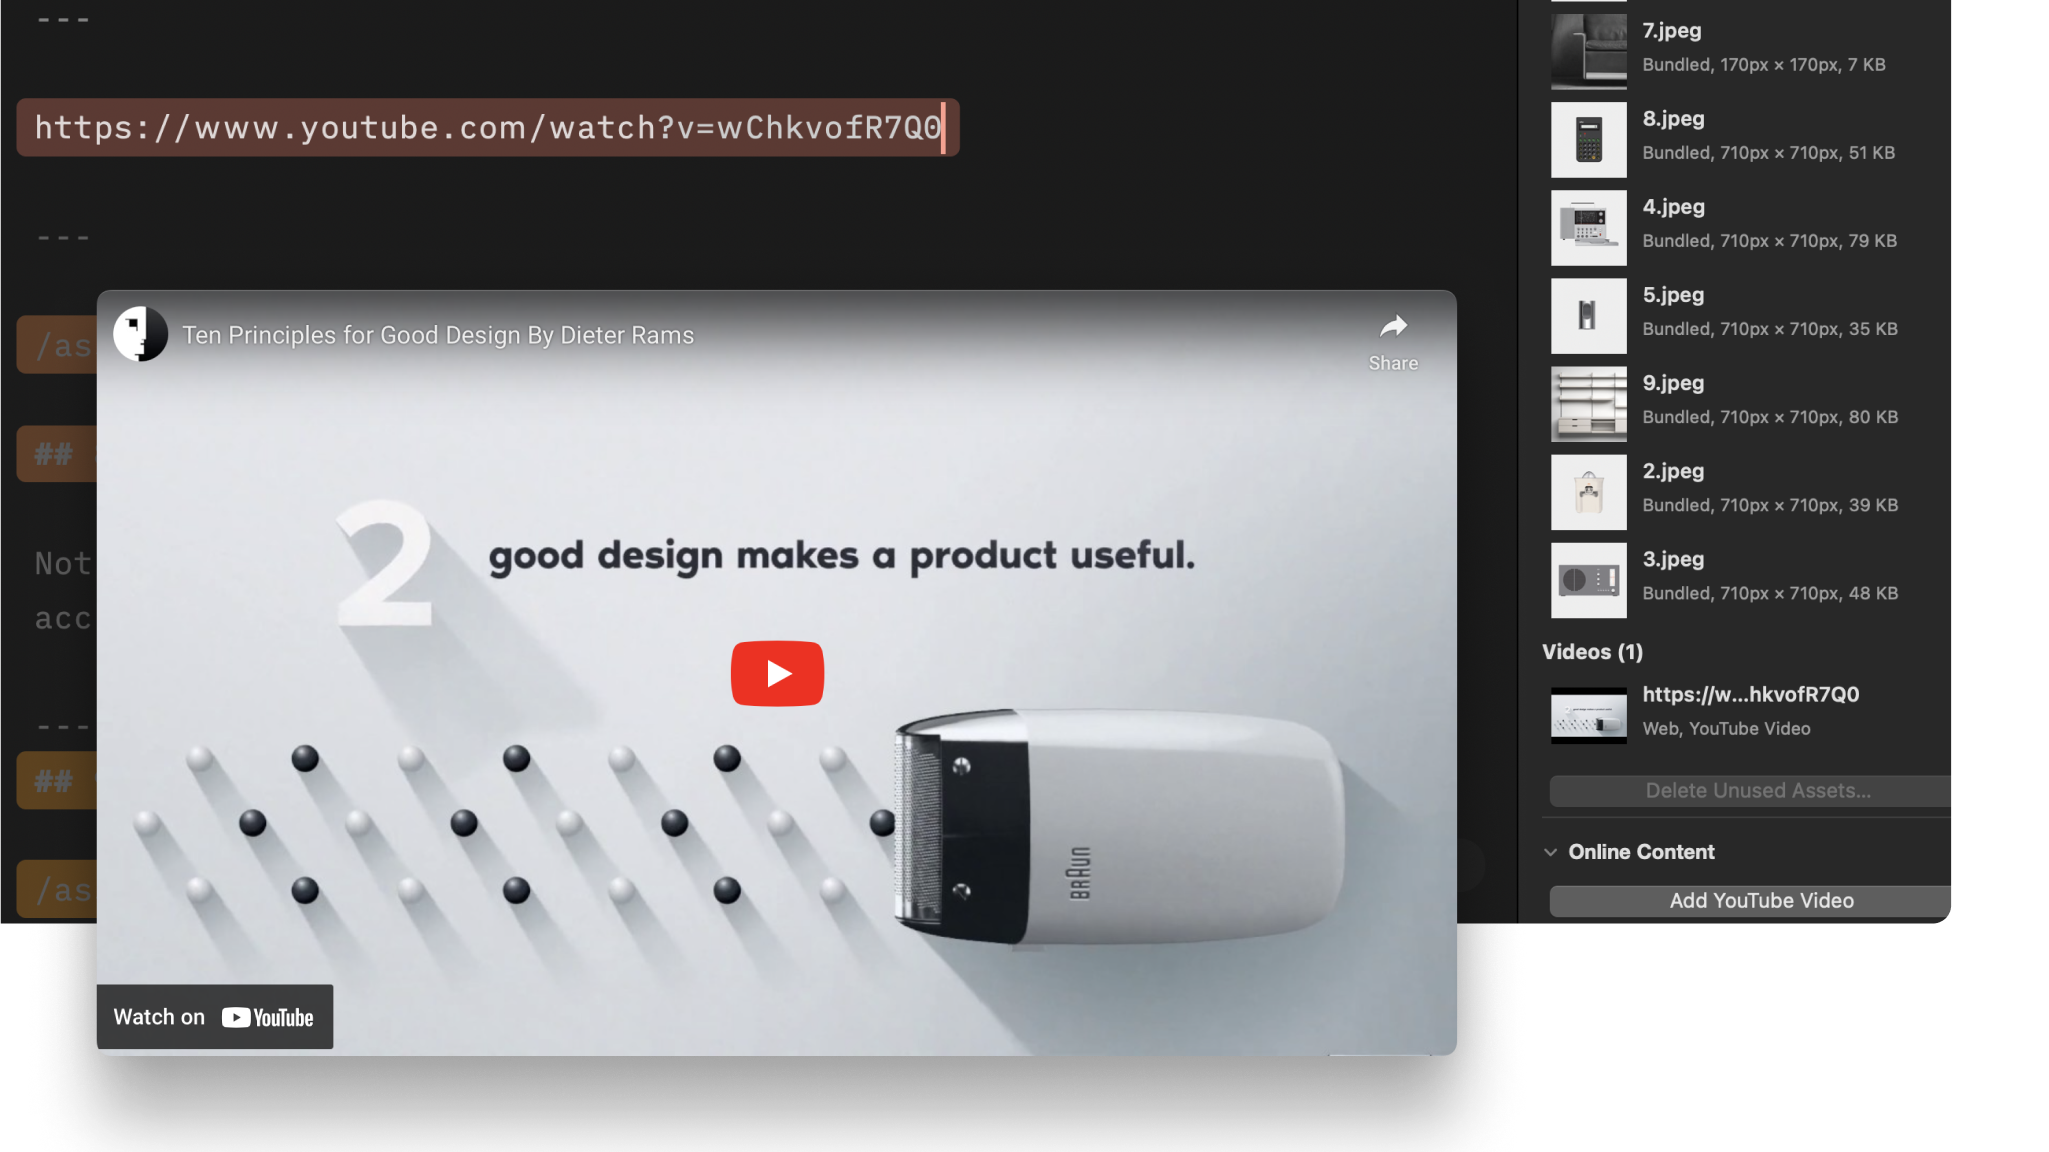
Videos
Learn how to link to YouTube and add local videos to your presentation.
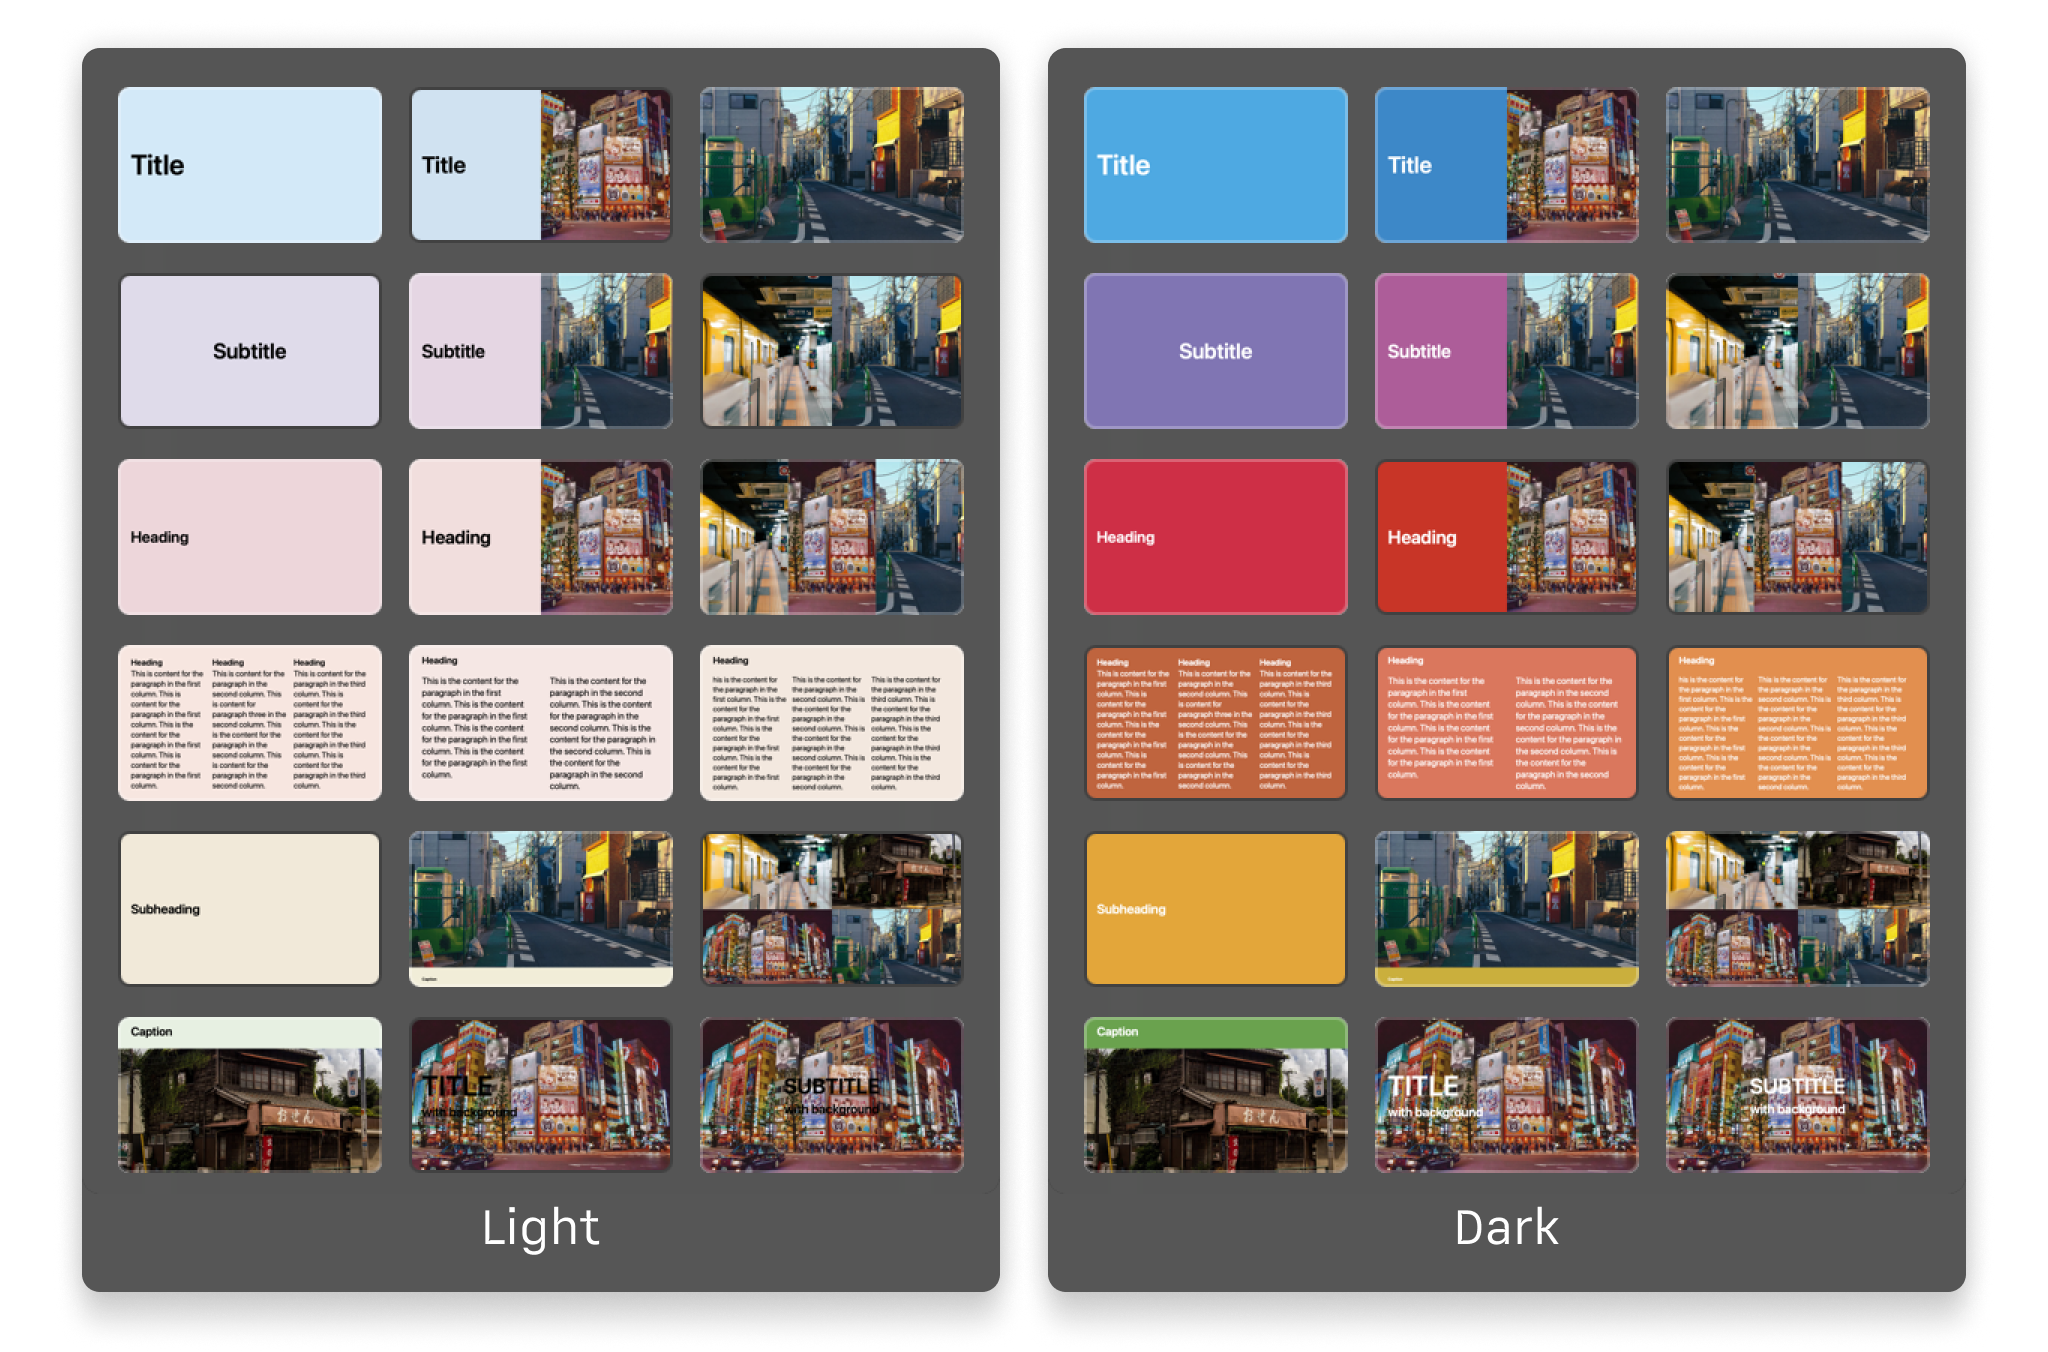
Themes
Explore the variety of themes offered in the app and the design principles that shaped each of them.
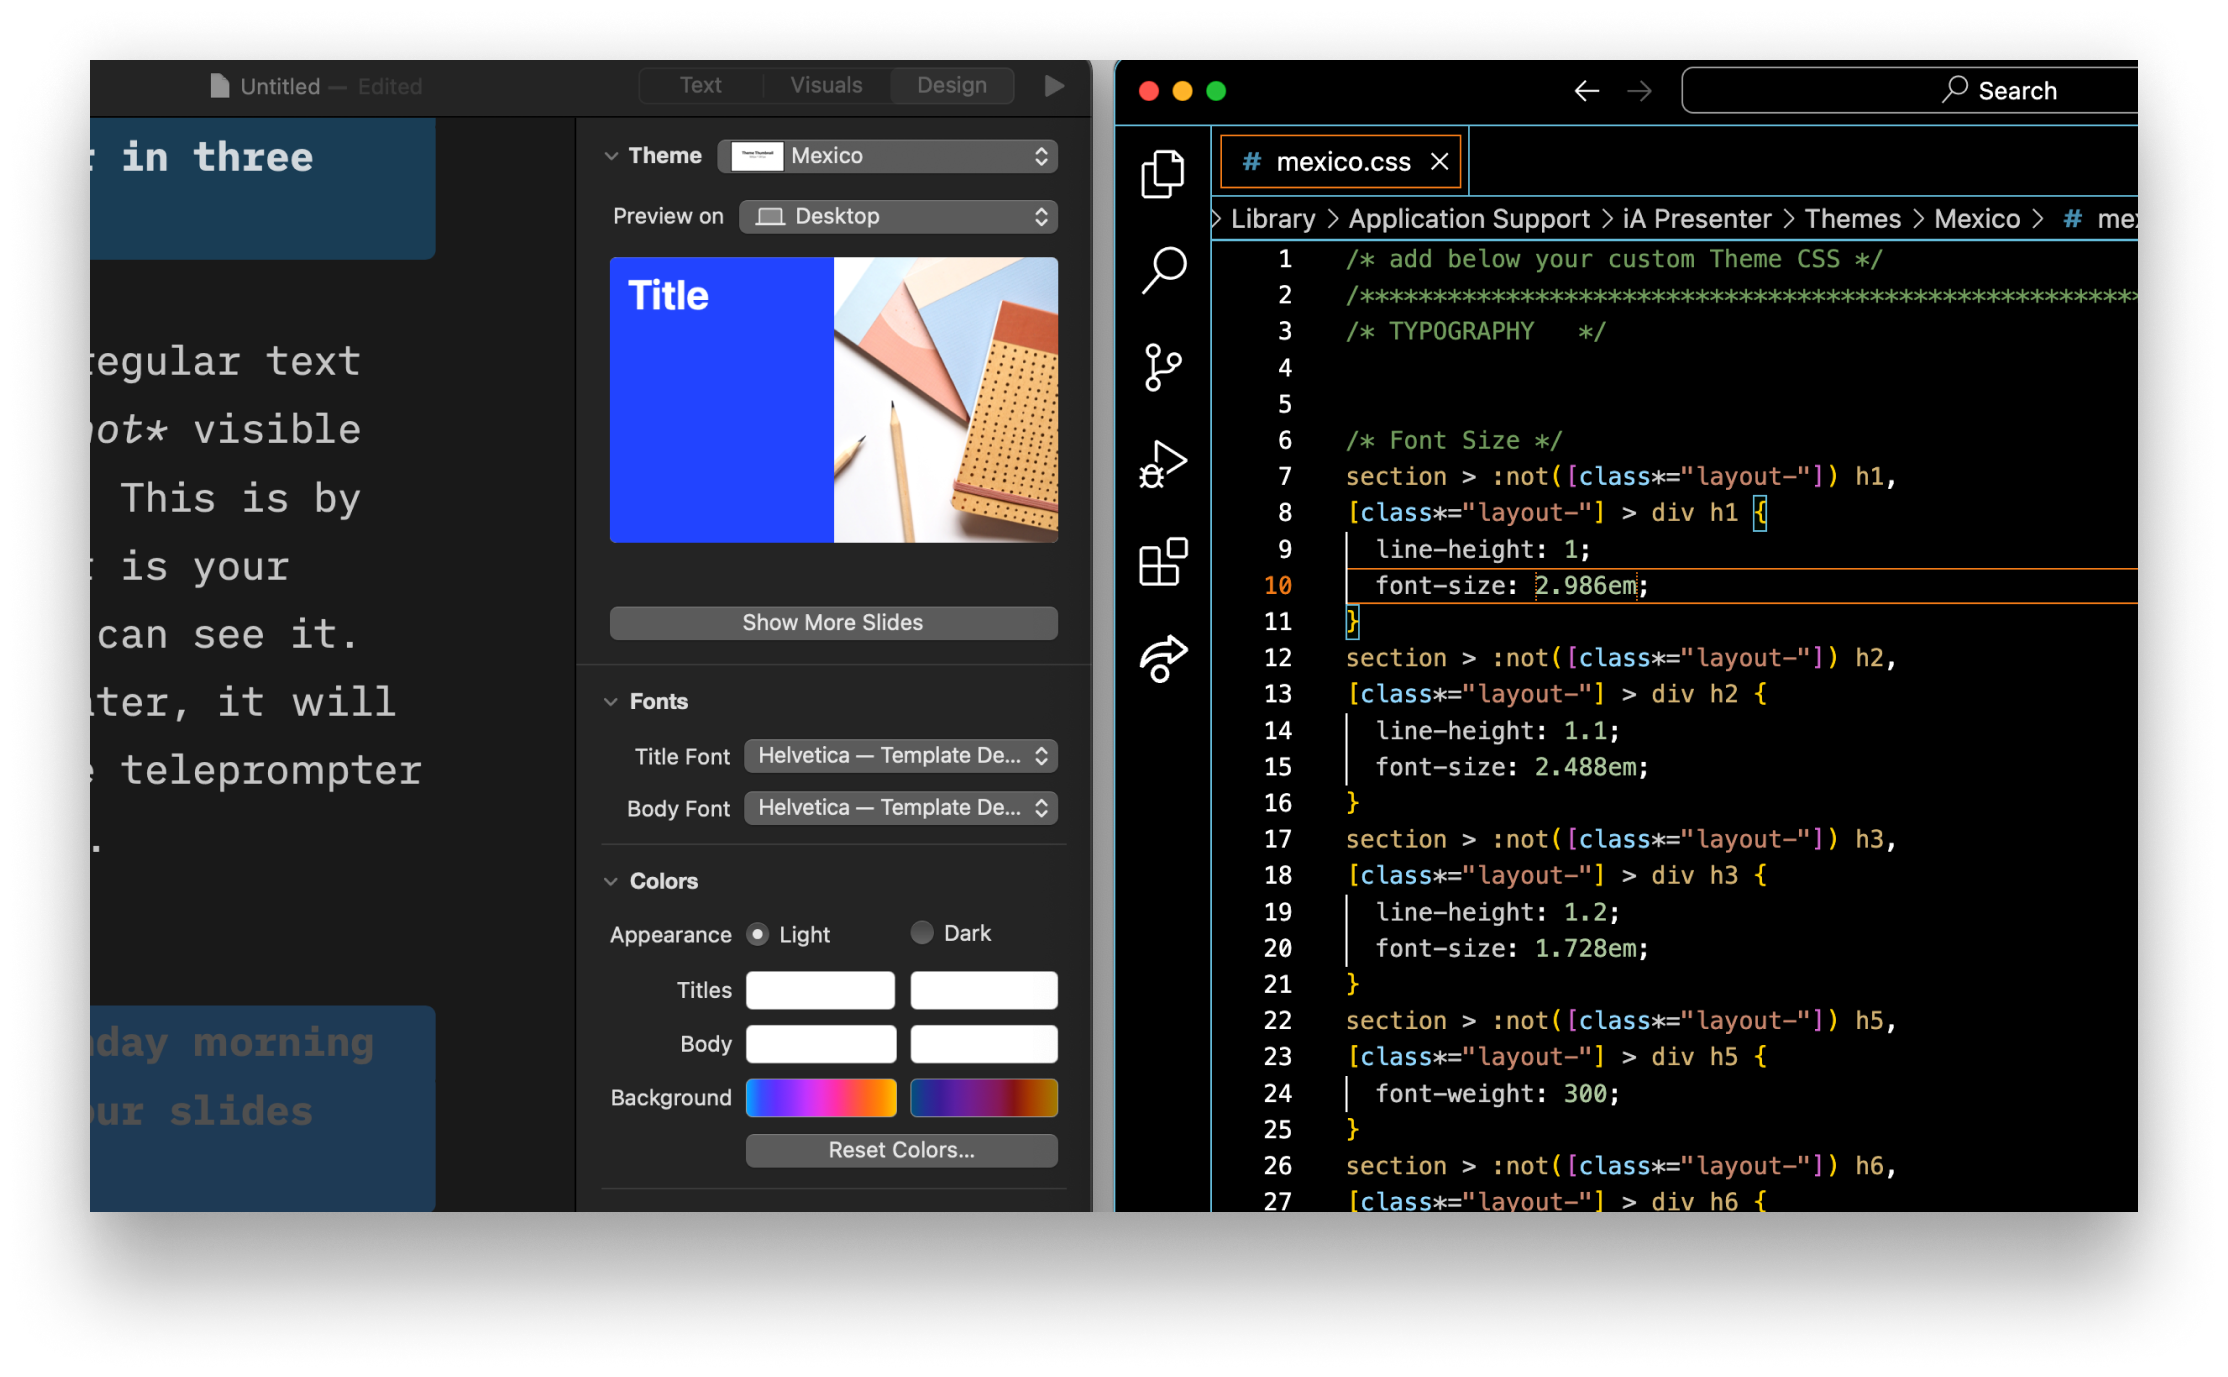
Custom Themes
For those comfortable with coding, build a custom theme from scratch with HTML and CSS.