In the previous tutorial you got to know Presenter’s interface. Now you’re ready to start crafting your first presentation.
Your Story Comes First
Telling a great story moves an audience—not stock images, bullet points, or diagrams. It’s what you say that matters.
Presenter encourages you to focus on your story while it takes care of the design. That’s why you’ll be spending most of your prep time in the Editor, where you write your script.
To remove all distractions and focus on writing, hide the Thumbnails and Inspector. Then maximize Presenter, leaving only the Editor visible.
Better yet, go to View and select Focus Mode which dims all text except for the slide you’re currently working on.
As you write, you can add headings, lists, links, and many other types of formatting using Markdown, which we’ll cover in the next tutorial.
Presenter uses your operating system’s settings for spelling, grammar, and autocorrection. It will save your changes every few seconds as you write, then save it once more when you close it.
💡 Want to create a presentation super fast? You can import a Markdown or text file directly into Presenter, which automatically converts it into slides based on your headings. Add a few images and you’re good to go!
Add Visuals
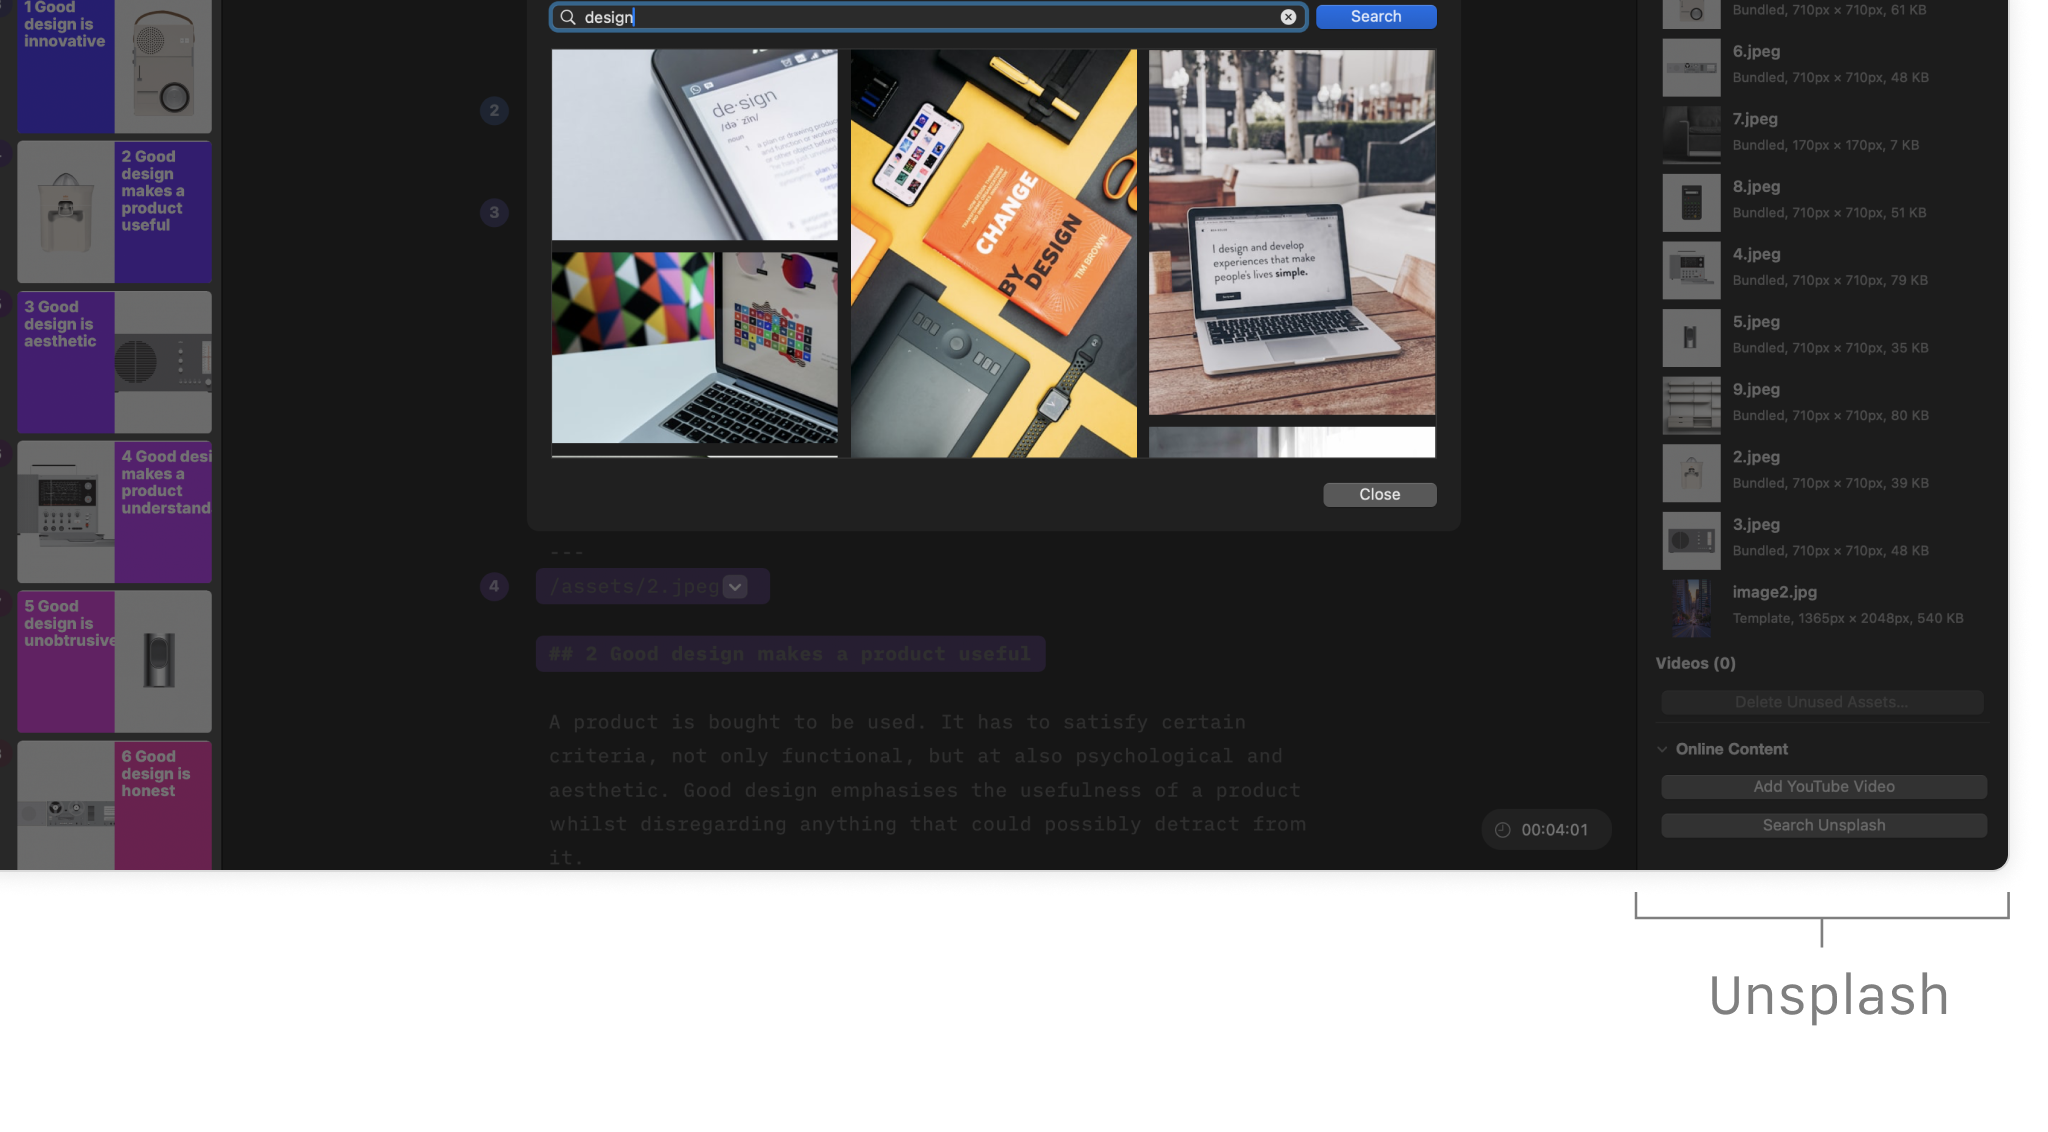
A good presentation deserves a good picture or two. You can easily add images and videos to your presentation, either locally or from an online source.
If you’re using images on your computer, drag-and-drop them straight into the Editor.
Finding the right picture soaks up time. Instead, open the Media Manager tab in the Inspector. Here you’ll find an option to add free, high-quality images from Unsplash directly into Presenter.
From here, you can also add a YouTube link if you want to showcase a video.
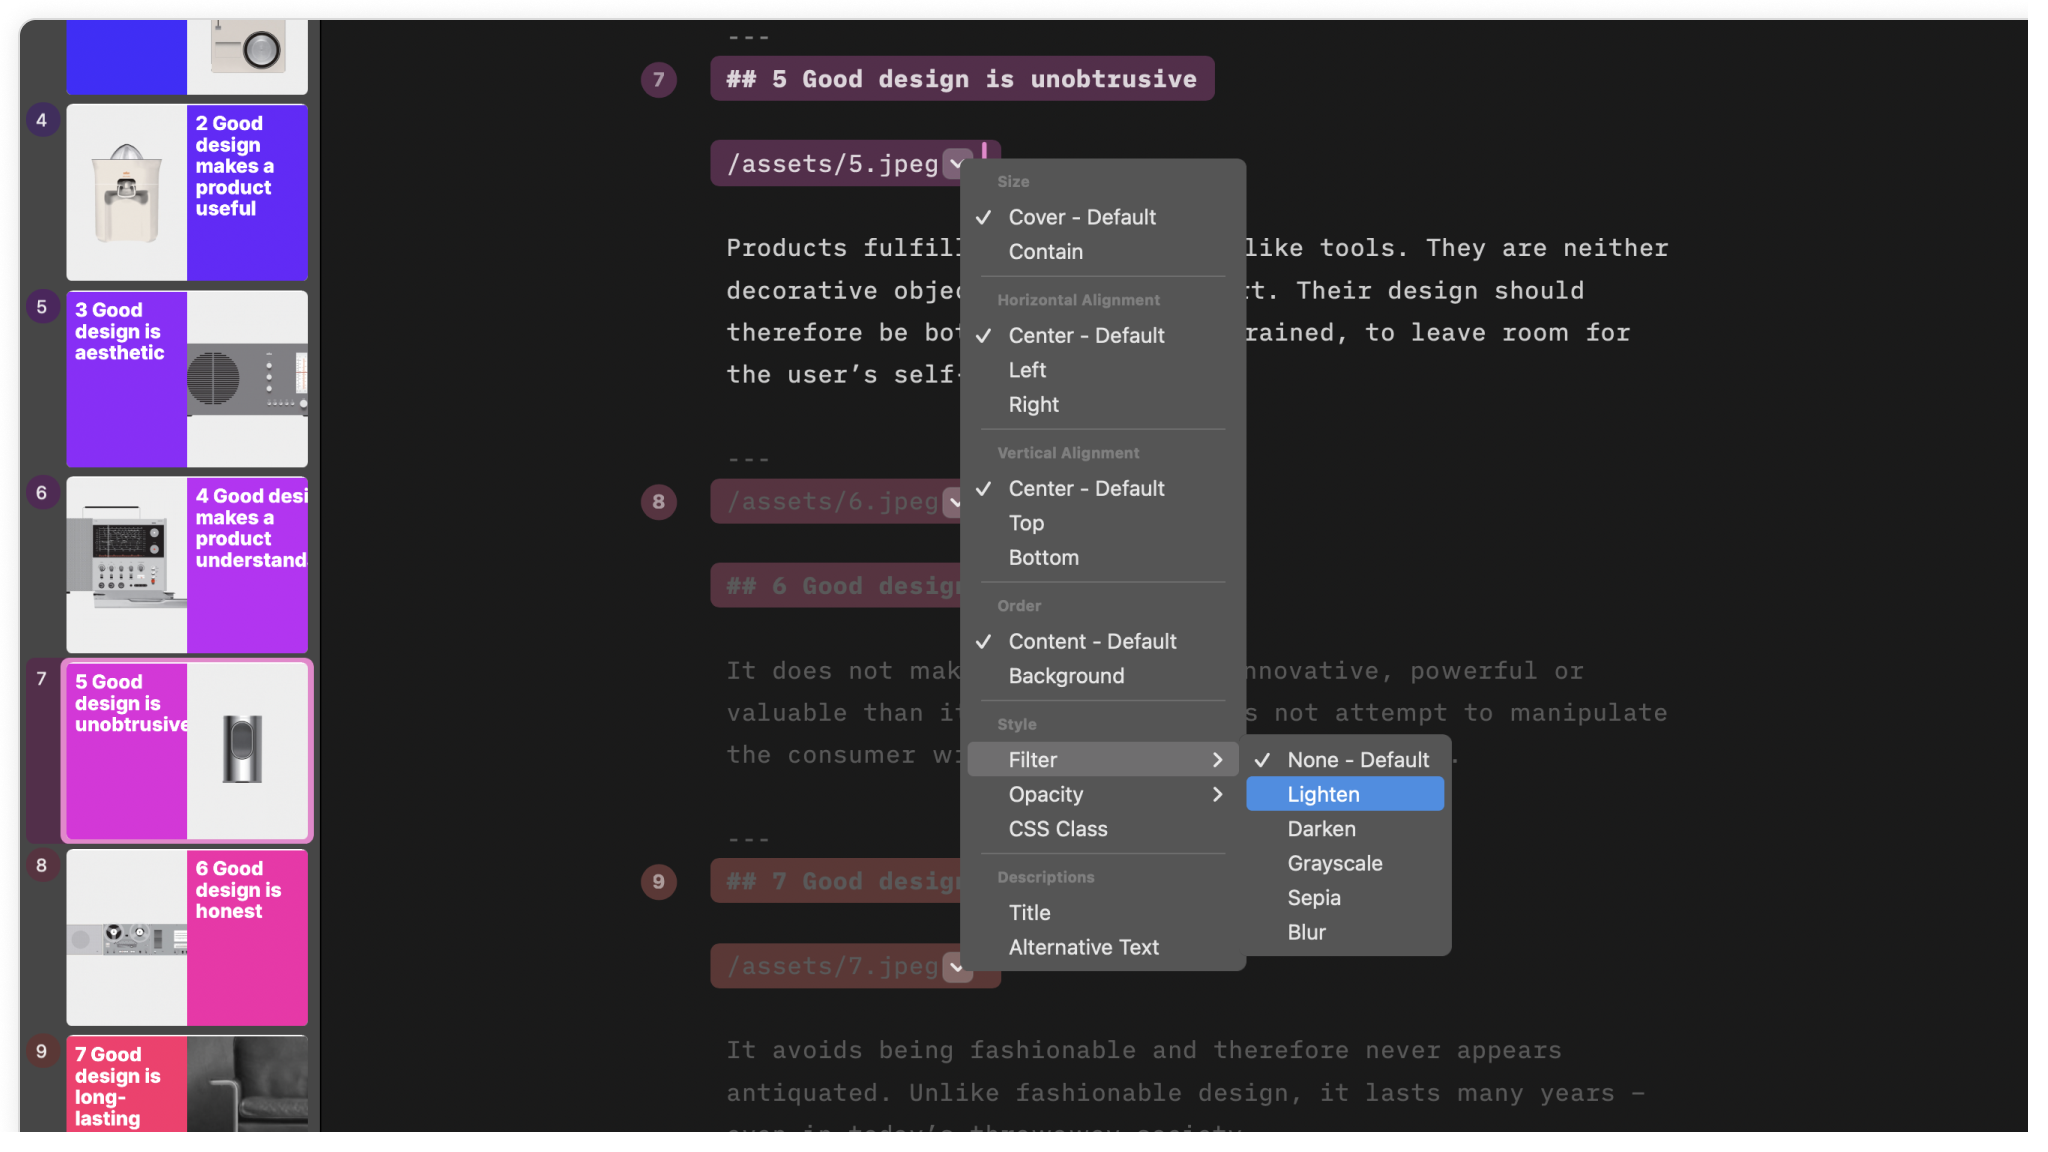
You can adjust your pictures too. Right-click on the dropdown arrow beside the image’s name in the Editor. From here you can adjust its size, position, apply filters, or change its opacity. Add a caption, if you like.
Find out how to make the most of Images and Videos in Presenter.
Color Shift
As you build your deck you may notice that your cursor and slide titles gradually change color from blue to gold. That’s a feature, not a bug! It shows you in which phase you are in a presentation:
- Blue is a cold start
- Purple is warming up
- Red: is when things get hot
- Orange prepares you for a sweet end
- Gold is the afterglow
💡 The shifting colors you see in the Editor don’t affect the theme you choose. Only you can see them.
All done—you now have a good idea of how to use the Editor. Remember to focus on writing down your story: what you’ll say. Add a few images too—just keep in mind that less is more.
In the next tutorial, we’ll take a closer look at how using Markdown will help you format your slides with ease.