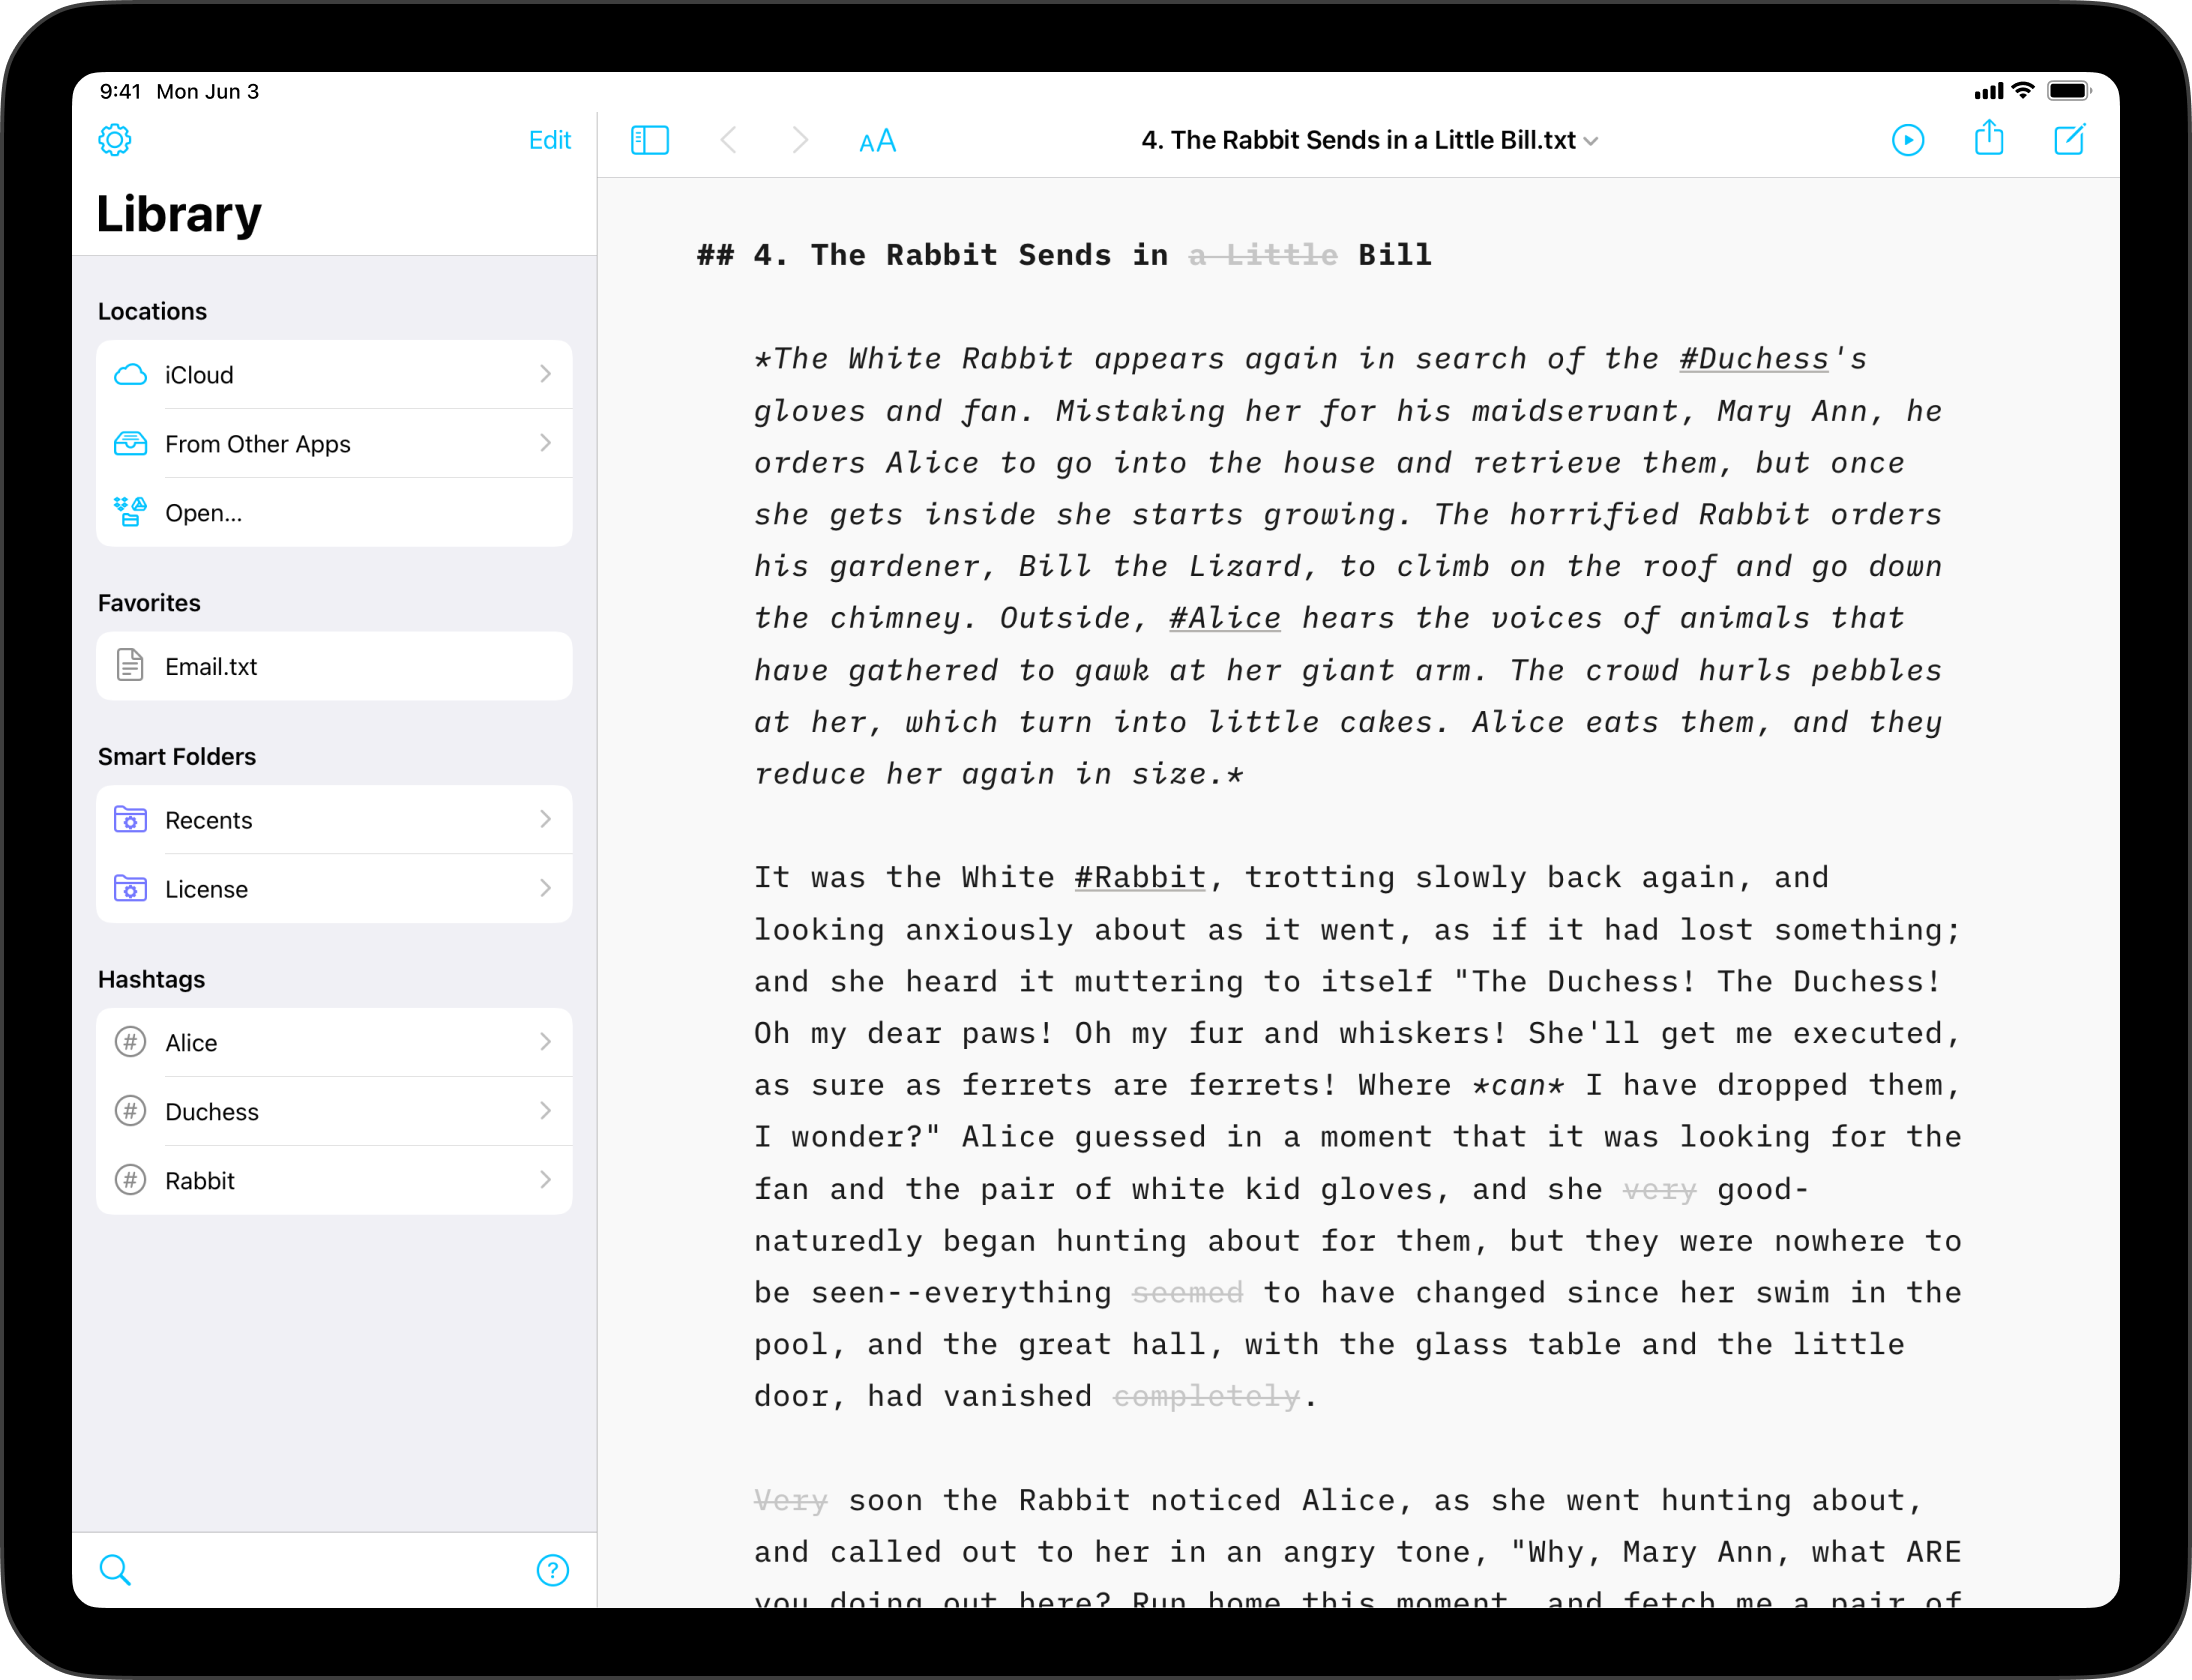
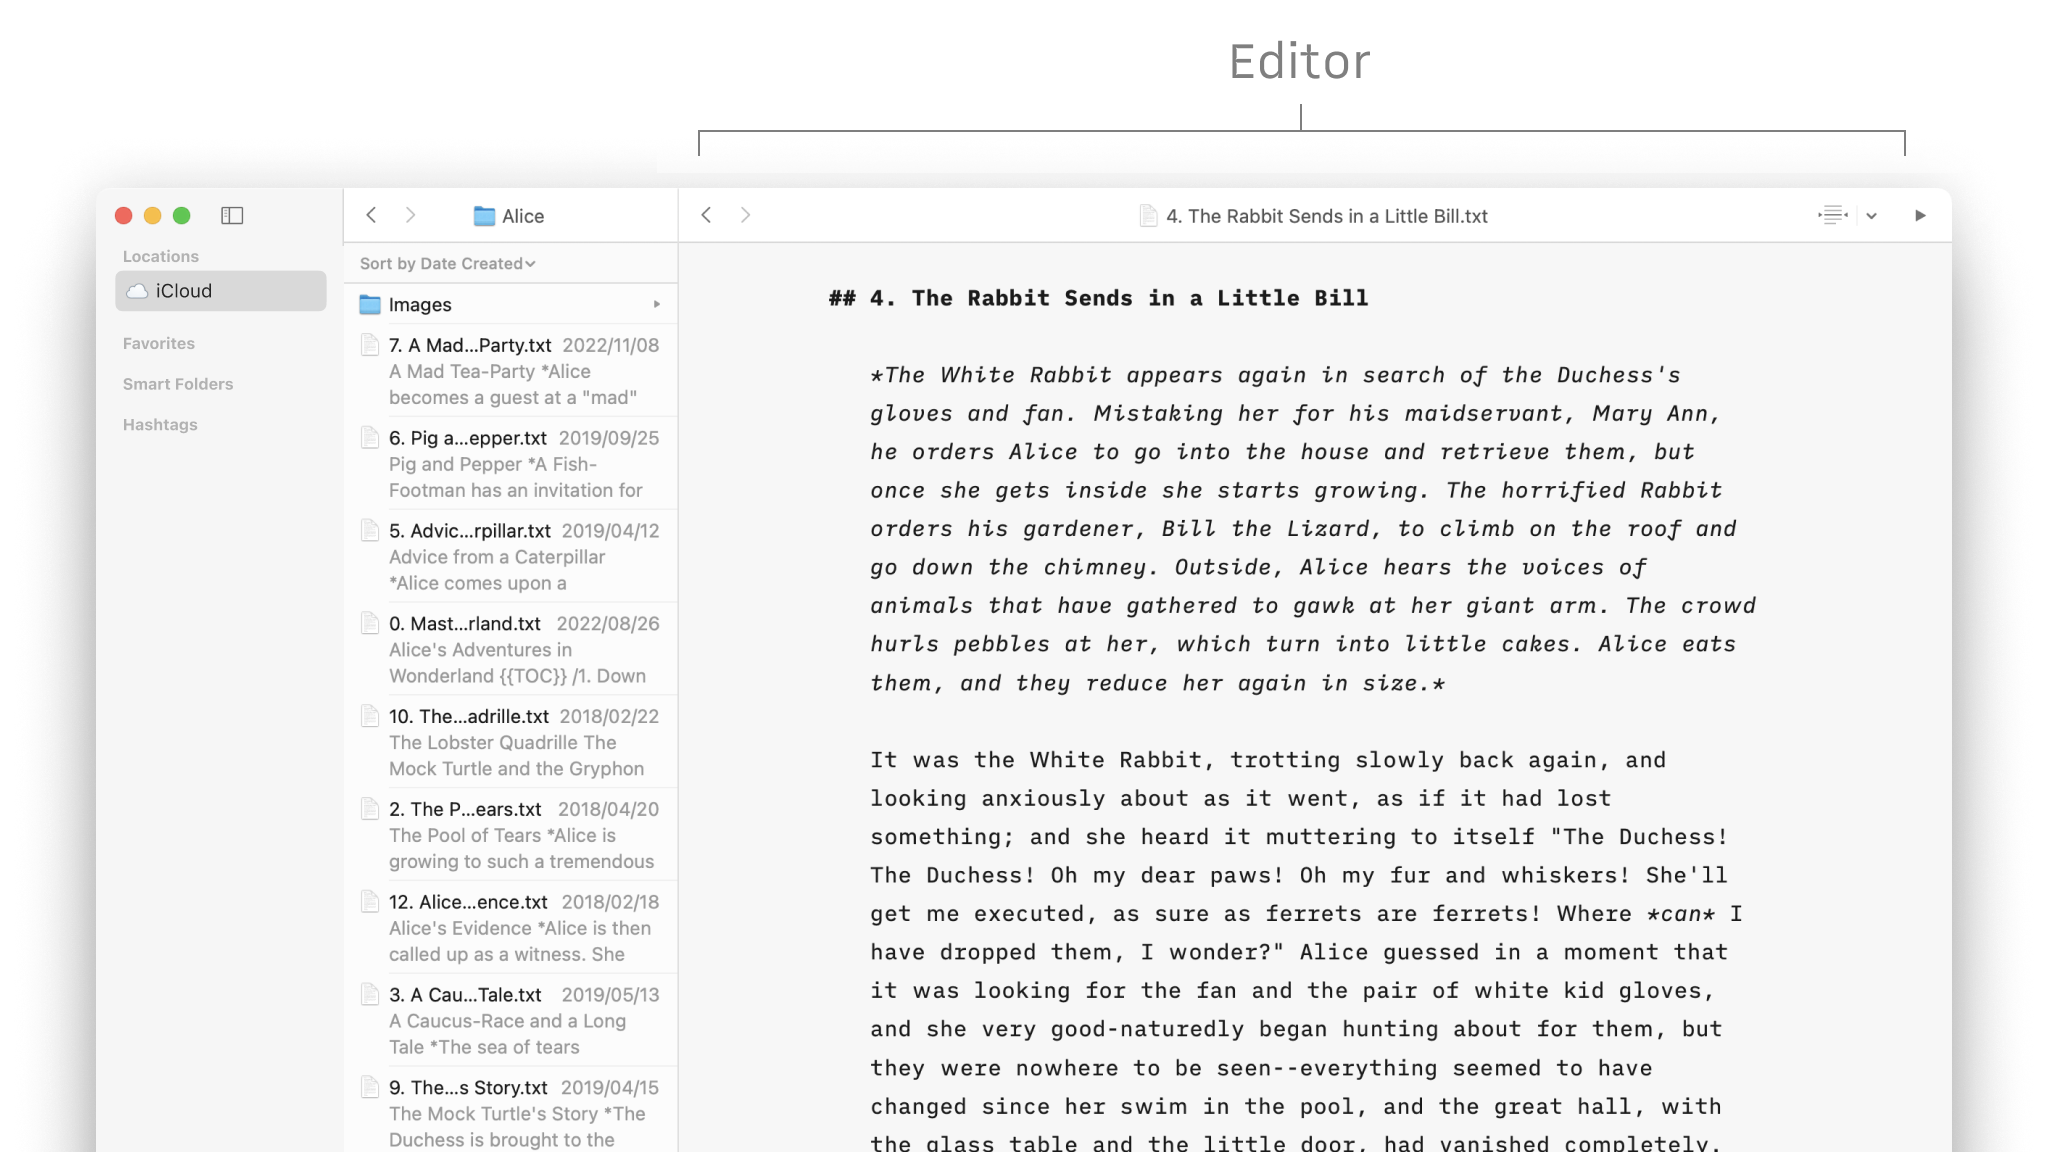
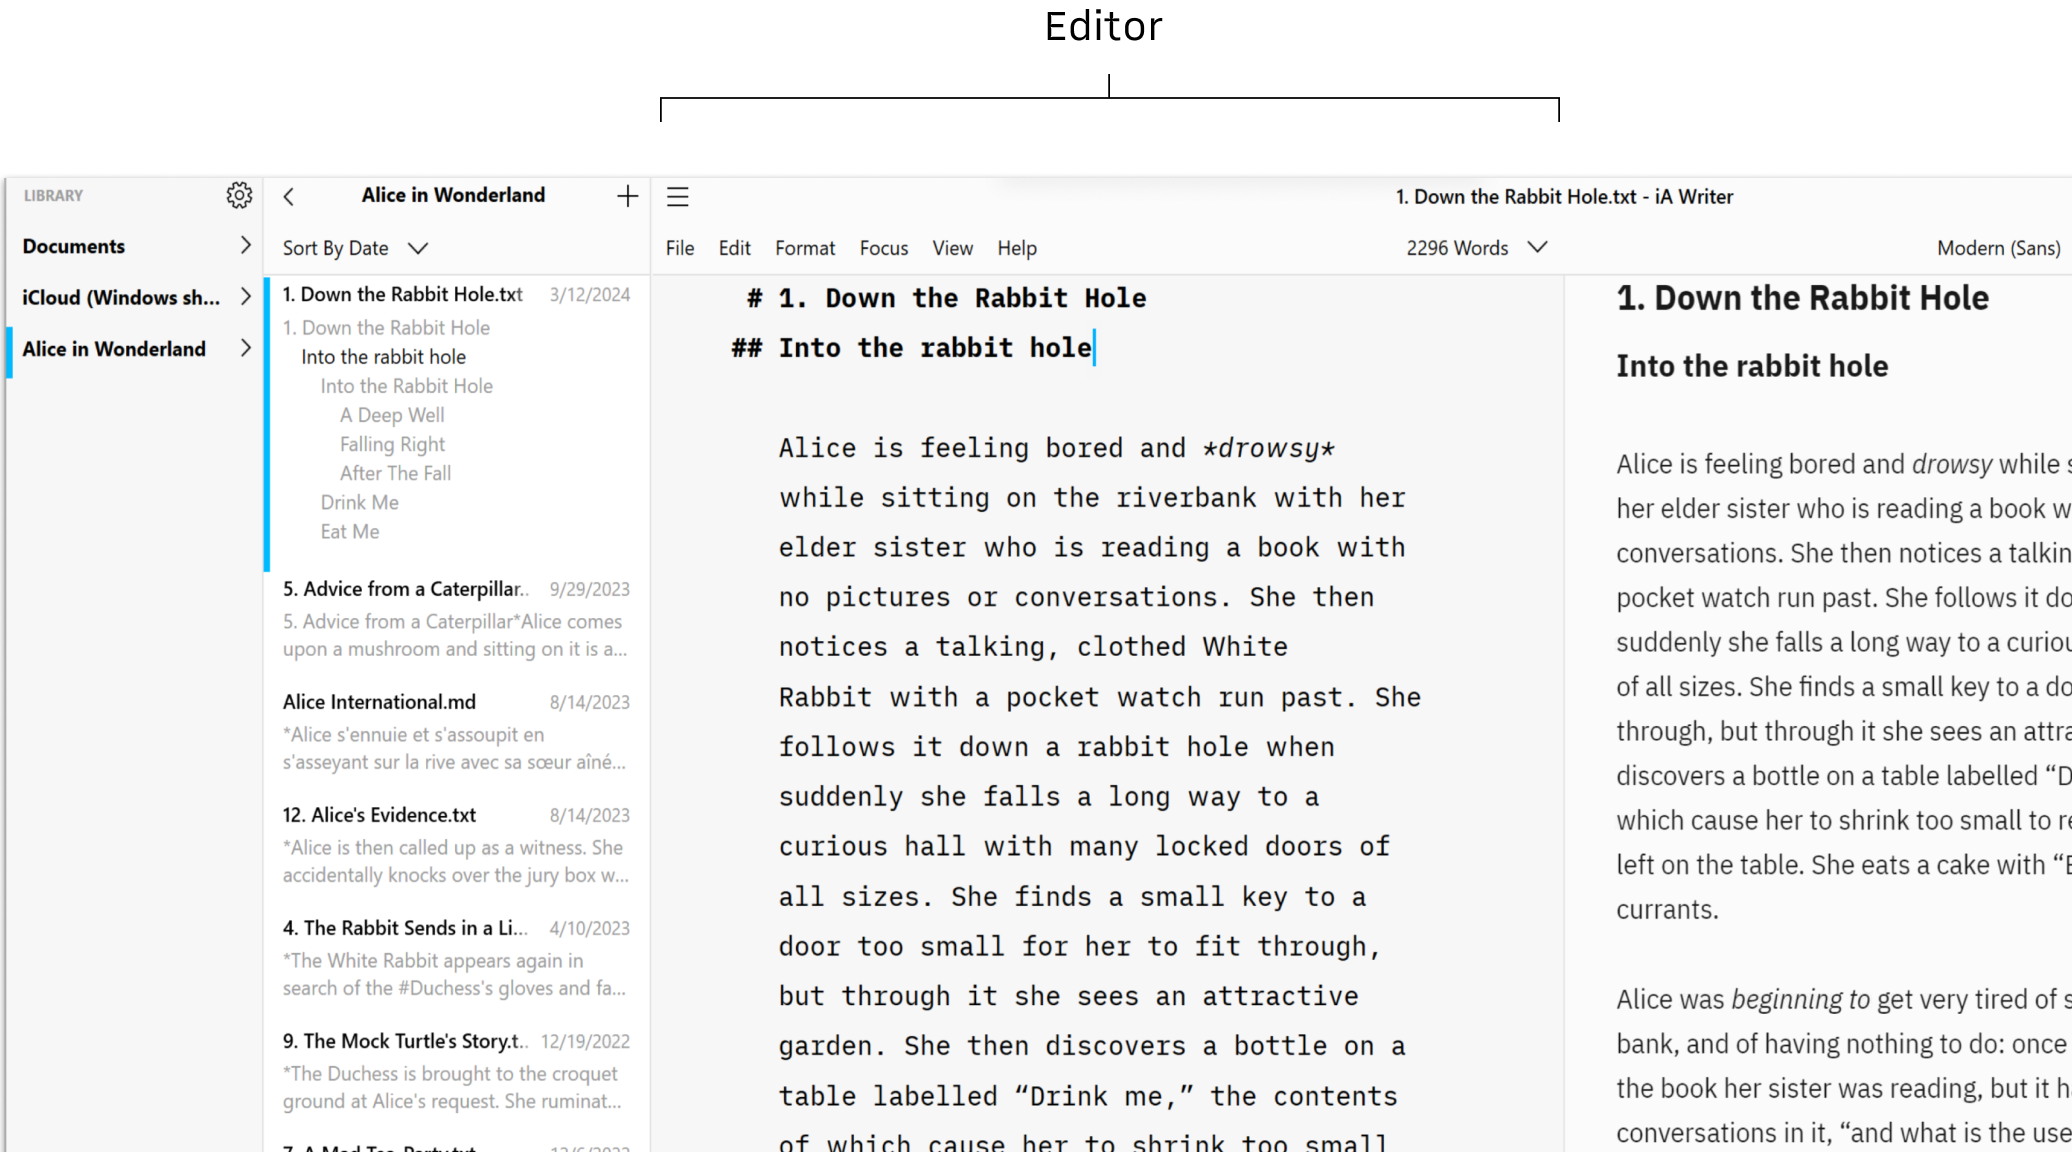
iA Writer for iPad is composed of 3 main parts: the Editor where you write, the Library, where you store your files and Preview where you can see the rendering of your document.
This is where the magic happens. You’ll spend most of your time here, following iA electric blue cursor.
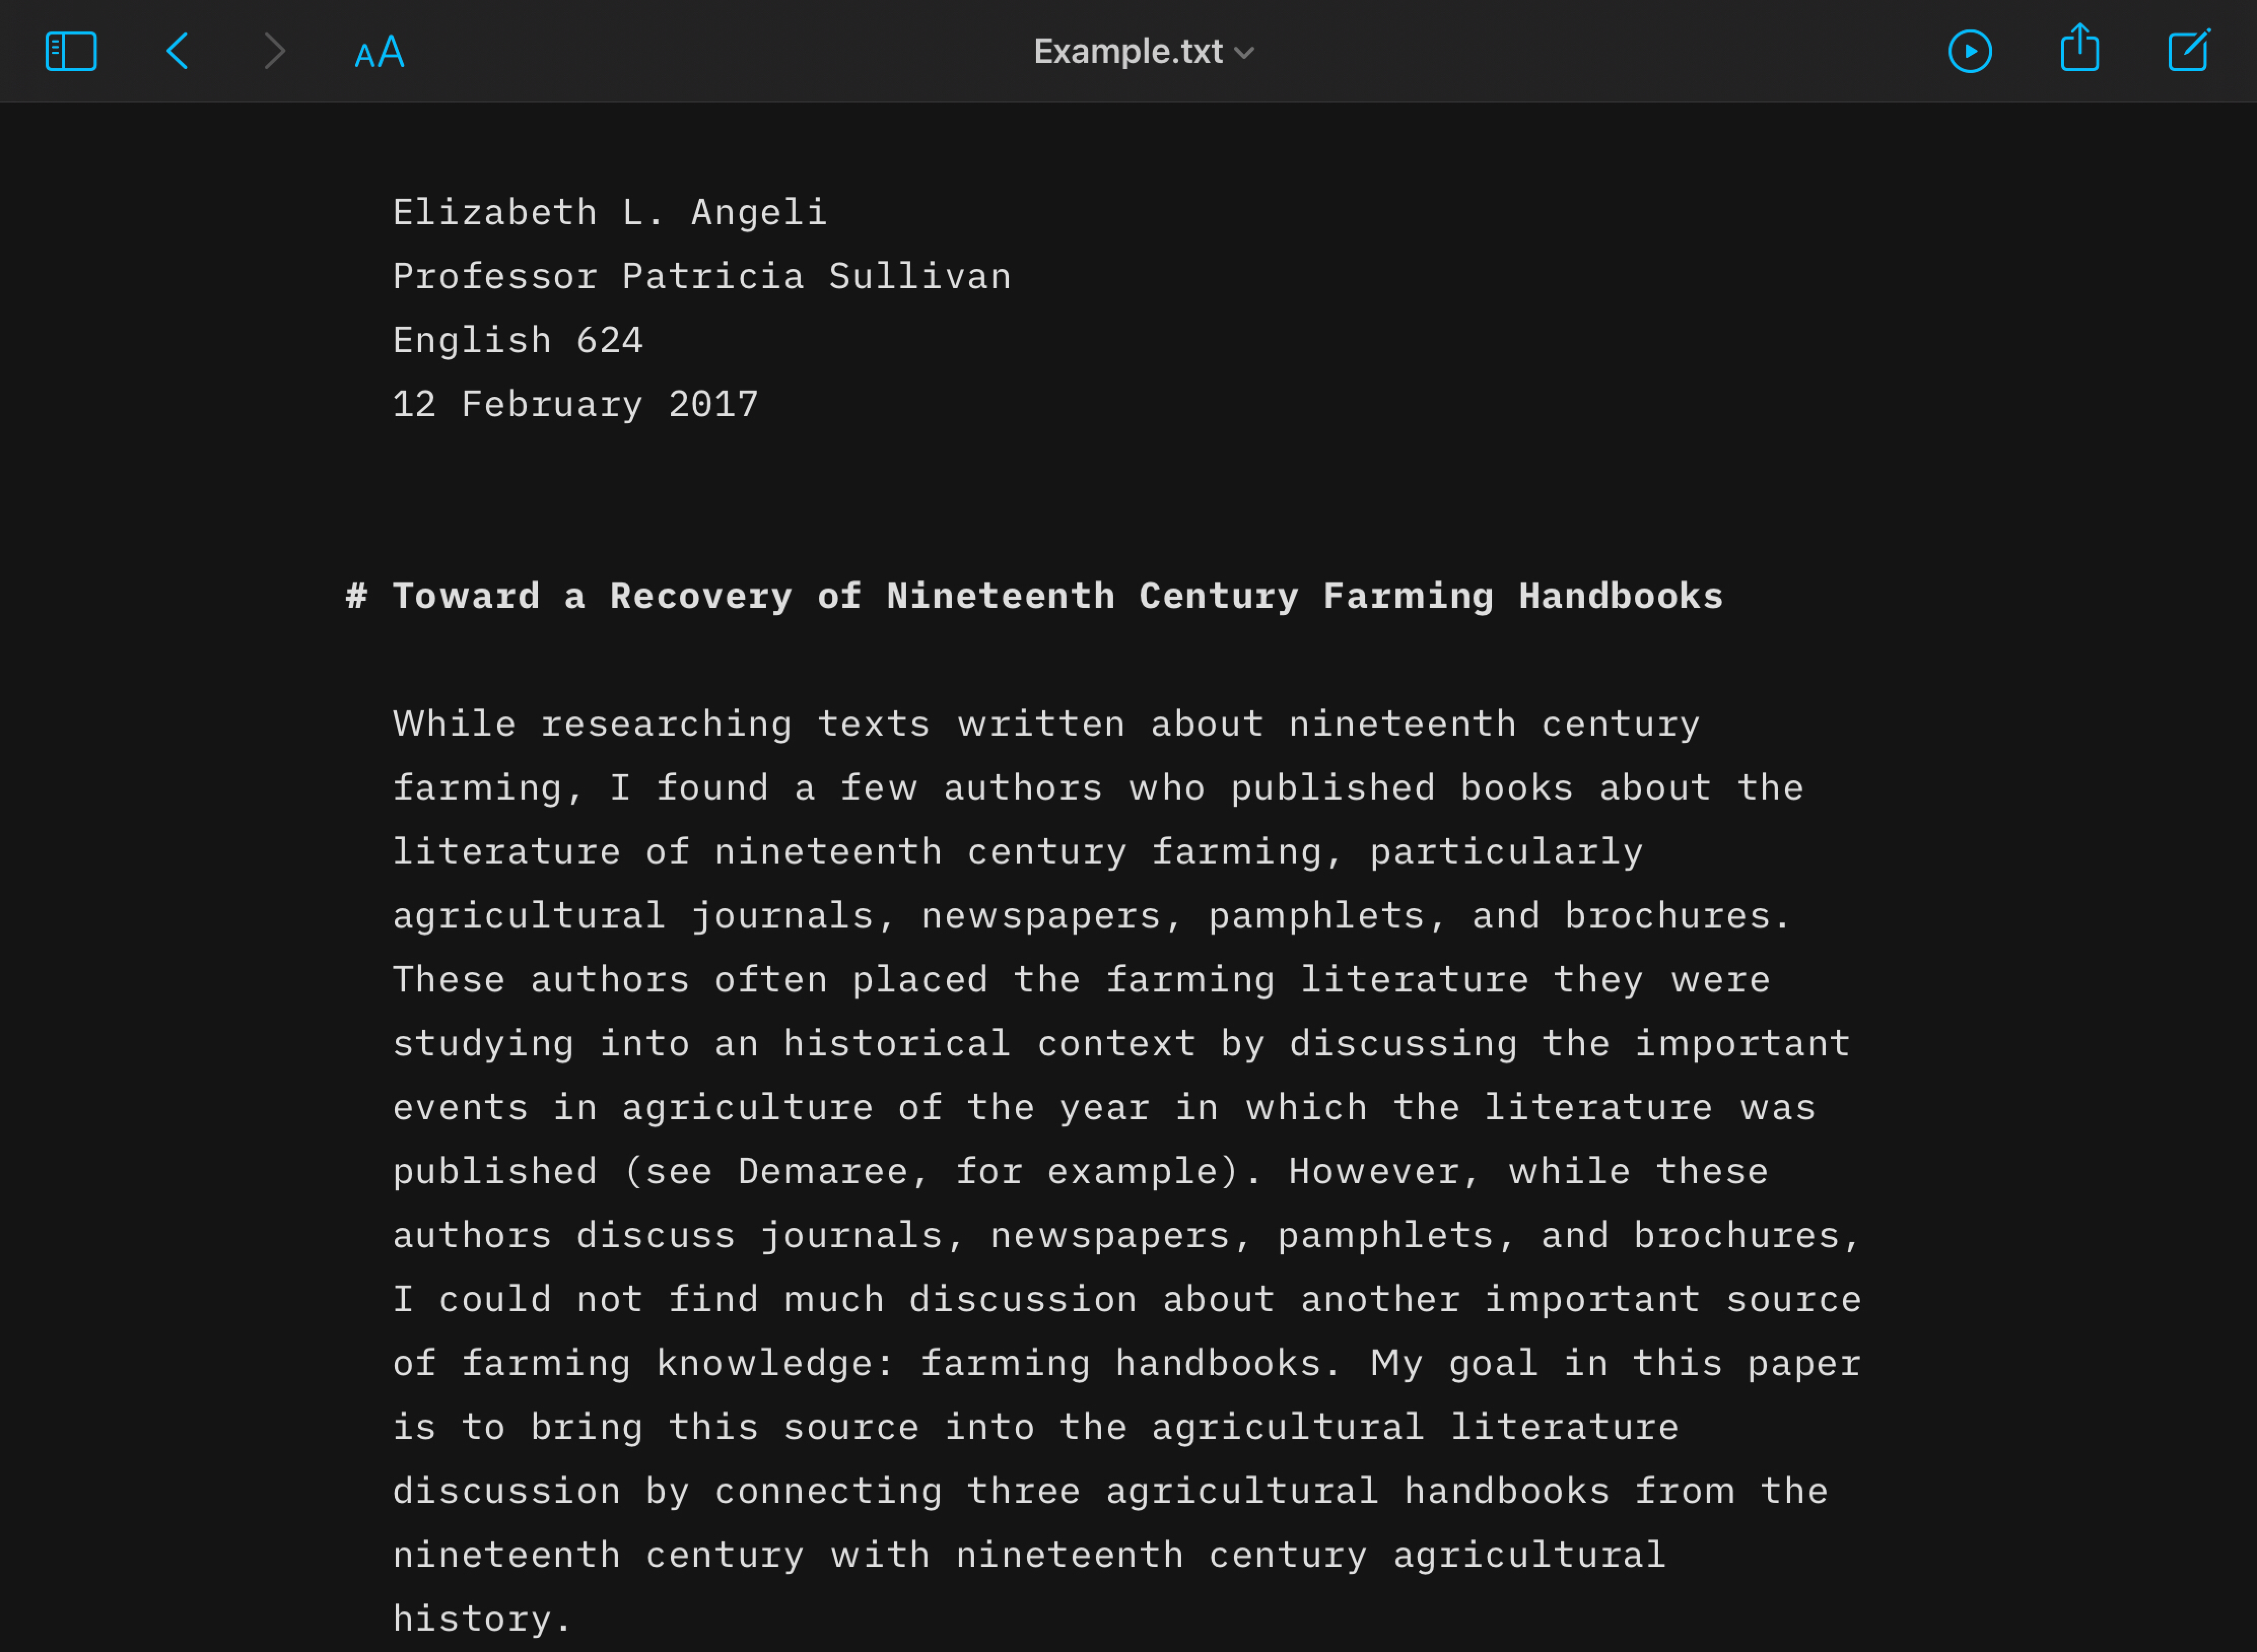
Writer is designed to get you up and writing as quickly as possible: most users will simply launch Writer and begin typing. There are however some settings you can use to tweak the Editor to your own tastes such as the font, font size, indentation etc… you can discover them in Settings.
One of the benefits of Markdown and Writer’s support for keyboard shortcuts is that you can type and format your document without taking your hands off the keyboard.
If you aren’t familiar with Markdown yet, you can learn it in just a few minutes with our Markdown Guide.
Writer for iOS uses iPadOS system Autocorrect functionality. You can enable/disable this in app by toggling Check Spelling on or off. You can also enable Smart Quotes or Smart Dashes to take advantage of replacements for:
| Typed | Replaced with |
|---|---|
'' |
‘’ |
" " |
“ “ |
-- |
— |
--- |
— |
Here you’ll see the name of your active file. You can click on this to reveal a dialog box that lets you:
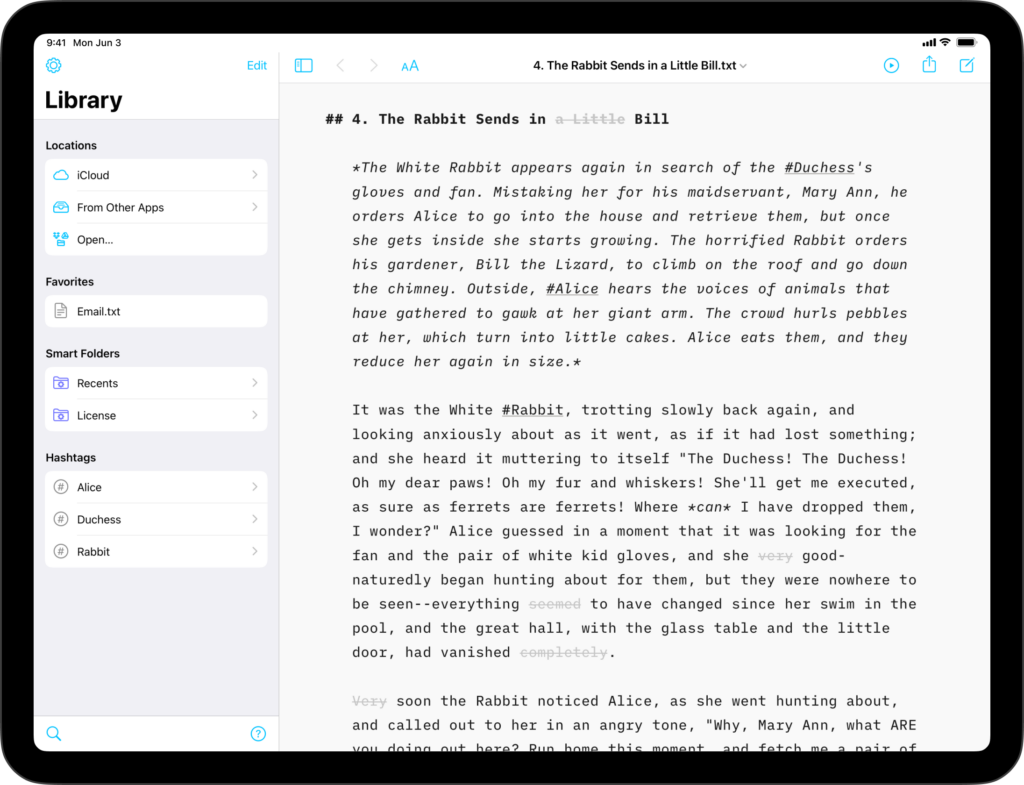
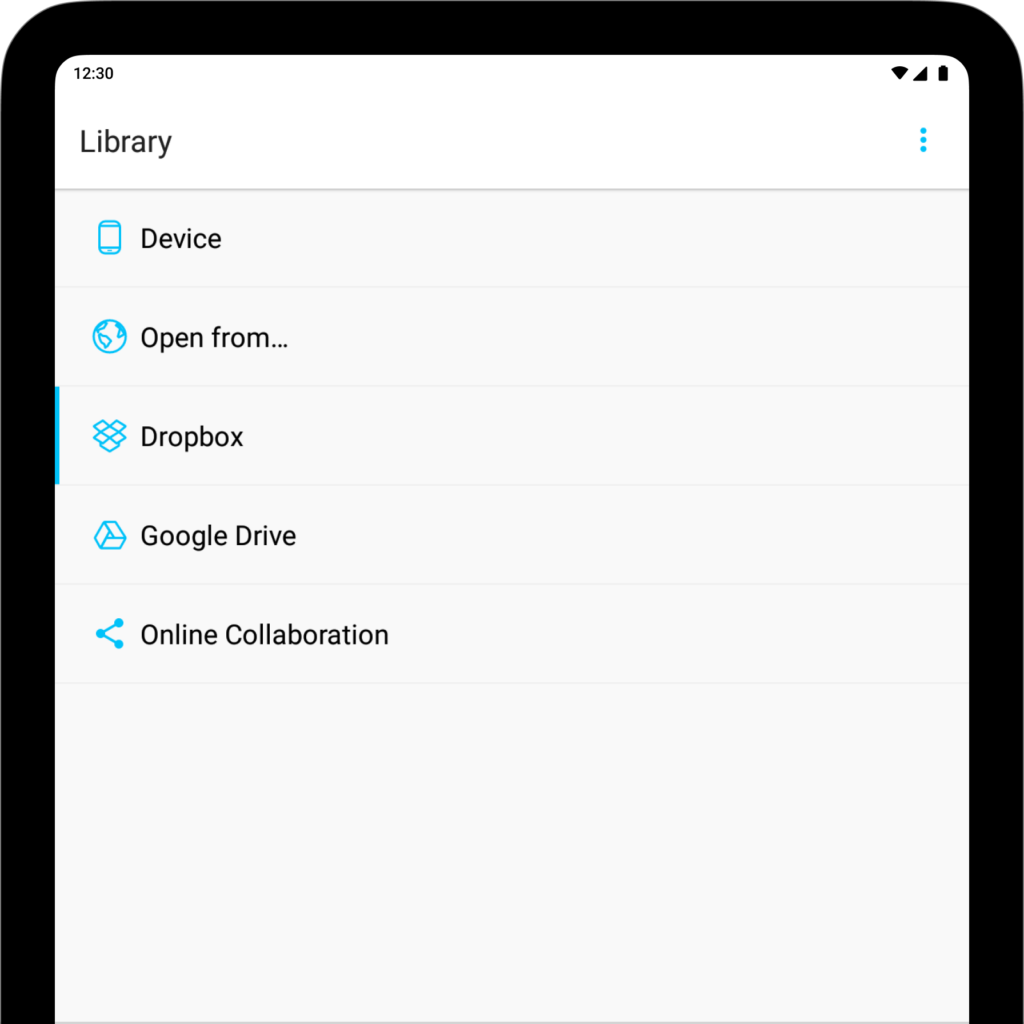
The Library is where you will store, organize and retrieve your documents.

You can open and close the Library in 2 different ways:
| Open the Library | Close the Library |
|---|---|
| Two-fingers swipe from left to right | Two-fingers swipe from right to left |
| Click the left button in the top-left of the title bar | Same |
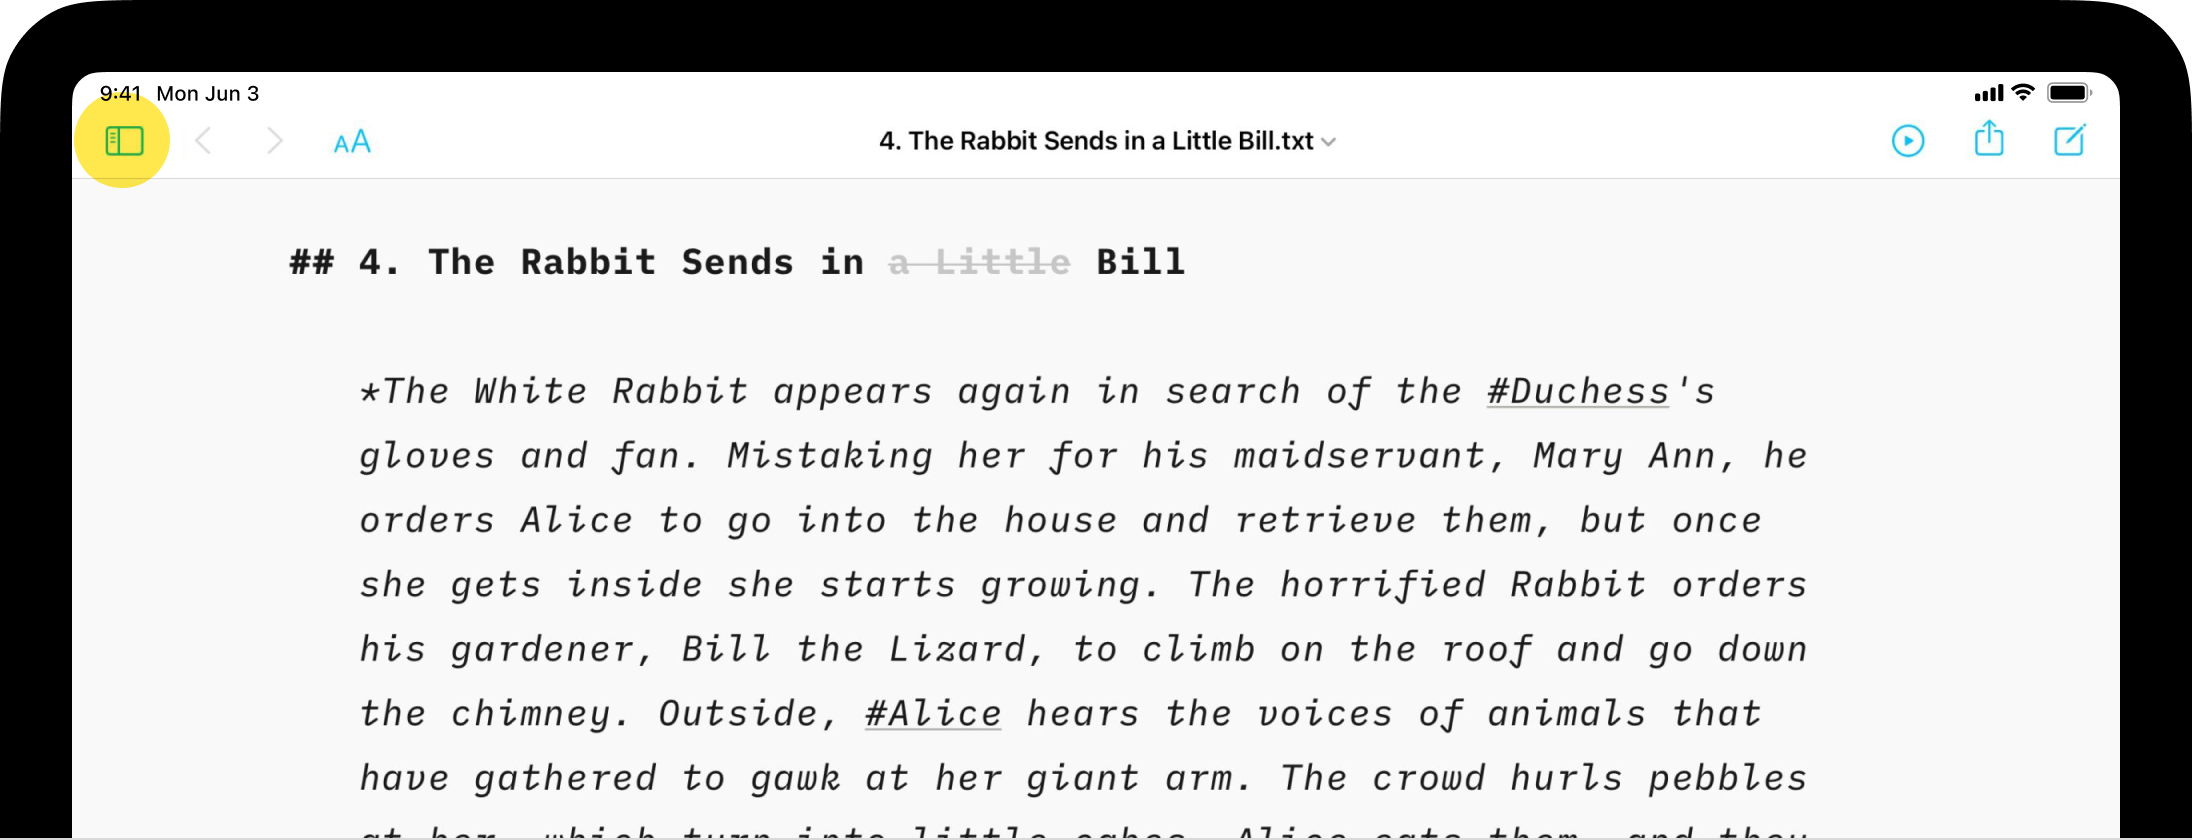
The Library is comprised of the Organizer and File List. From anywhere in the Library you can tap the < button at the top left to get you up to the Organizer (and access Settings as well).
The left-hand panel with a grey background of the Library is the Organizer allowing you to select cloud storage, organize folders and retrieve tags.
The Organizer contains:
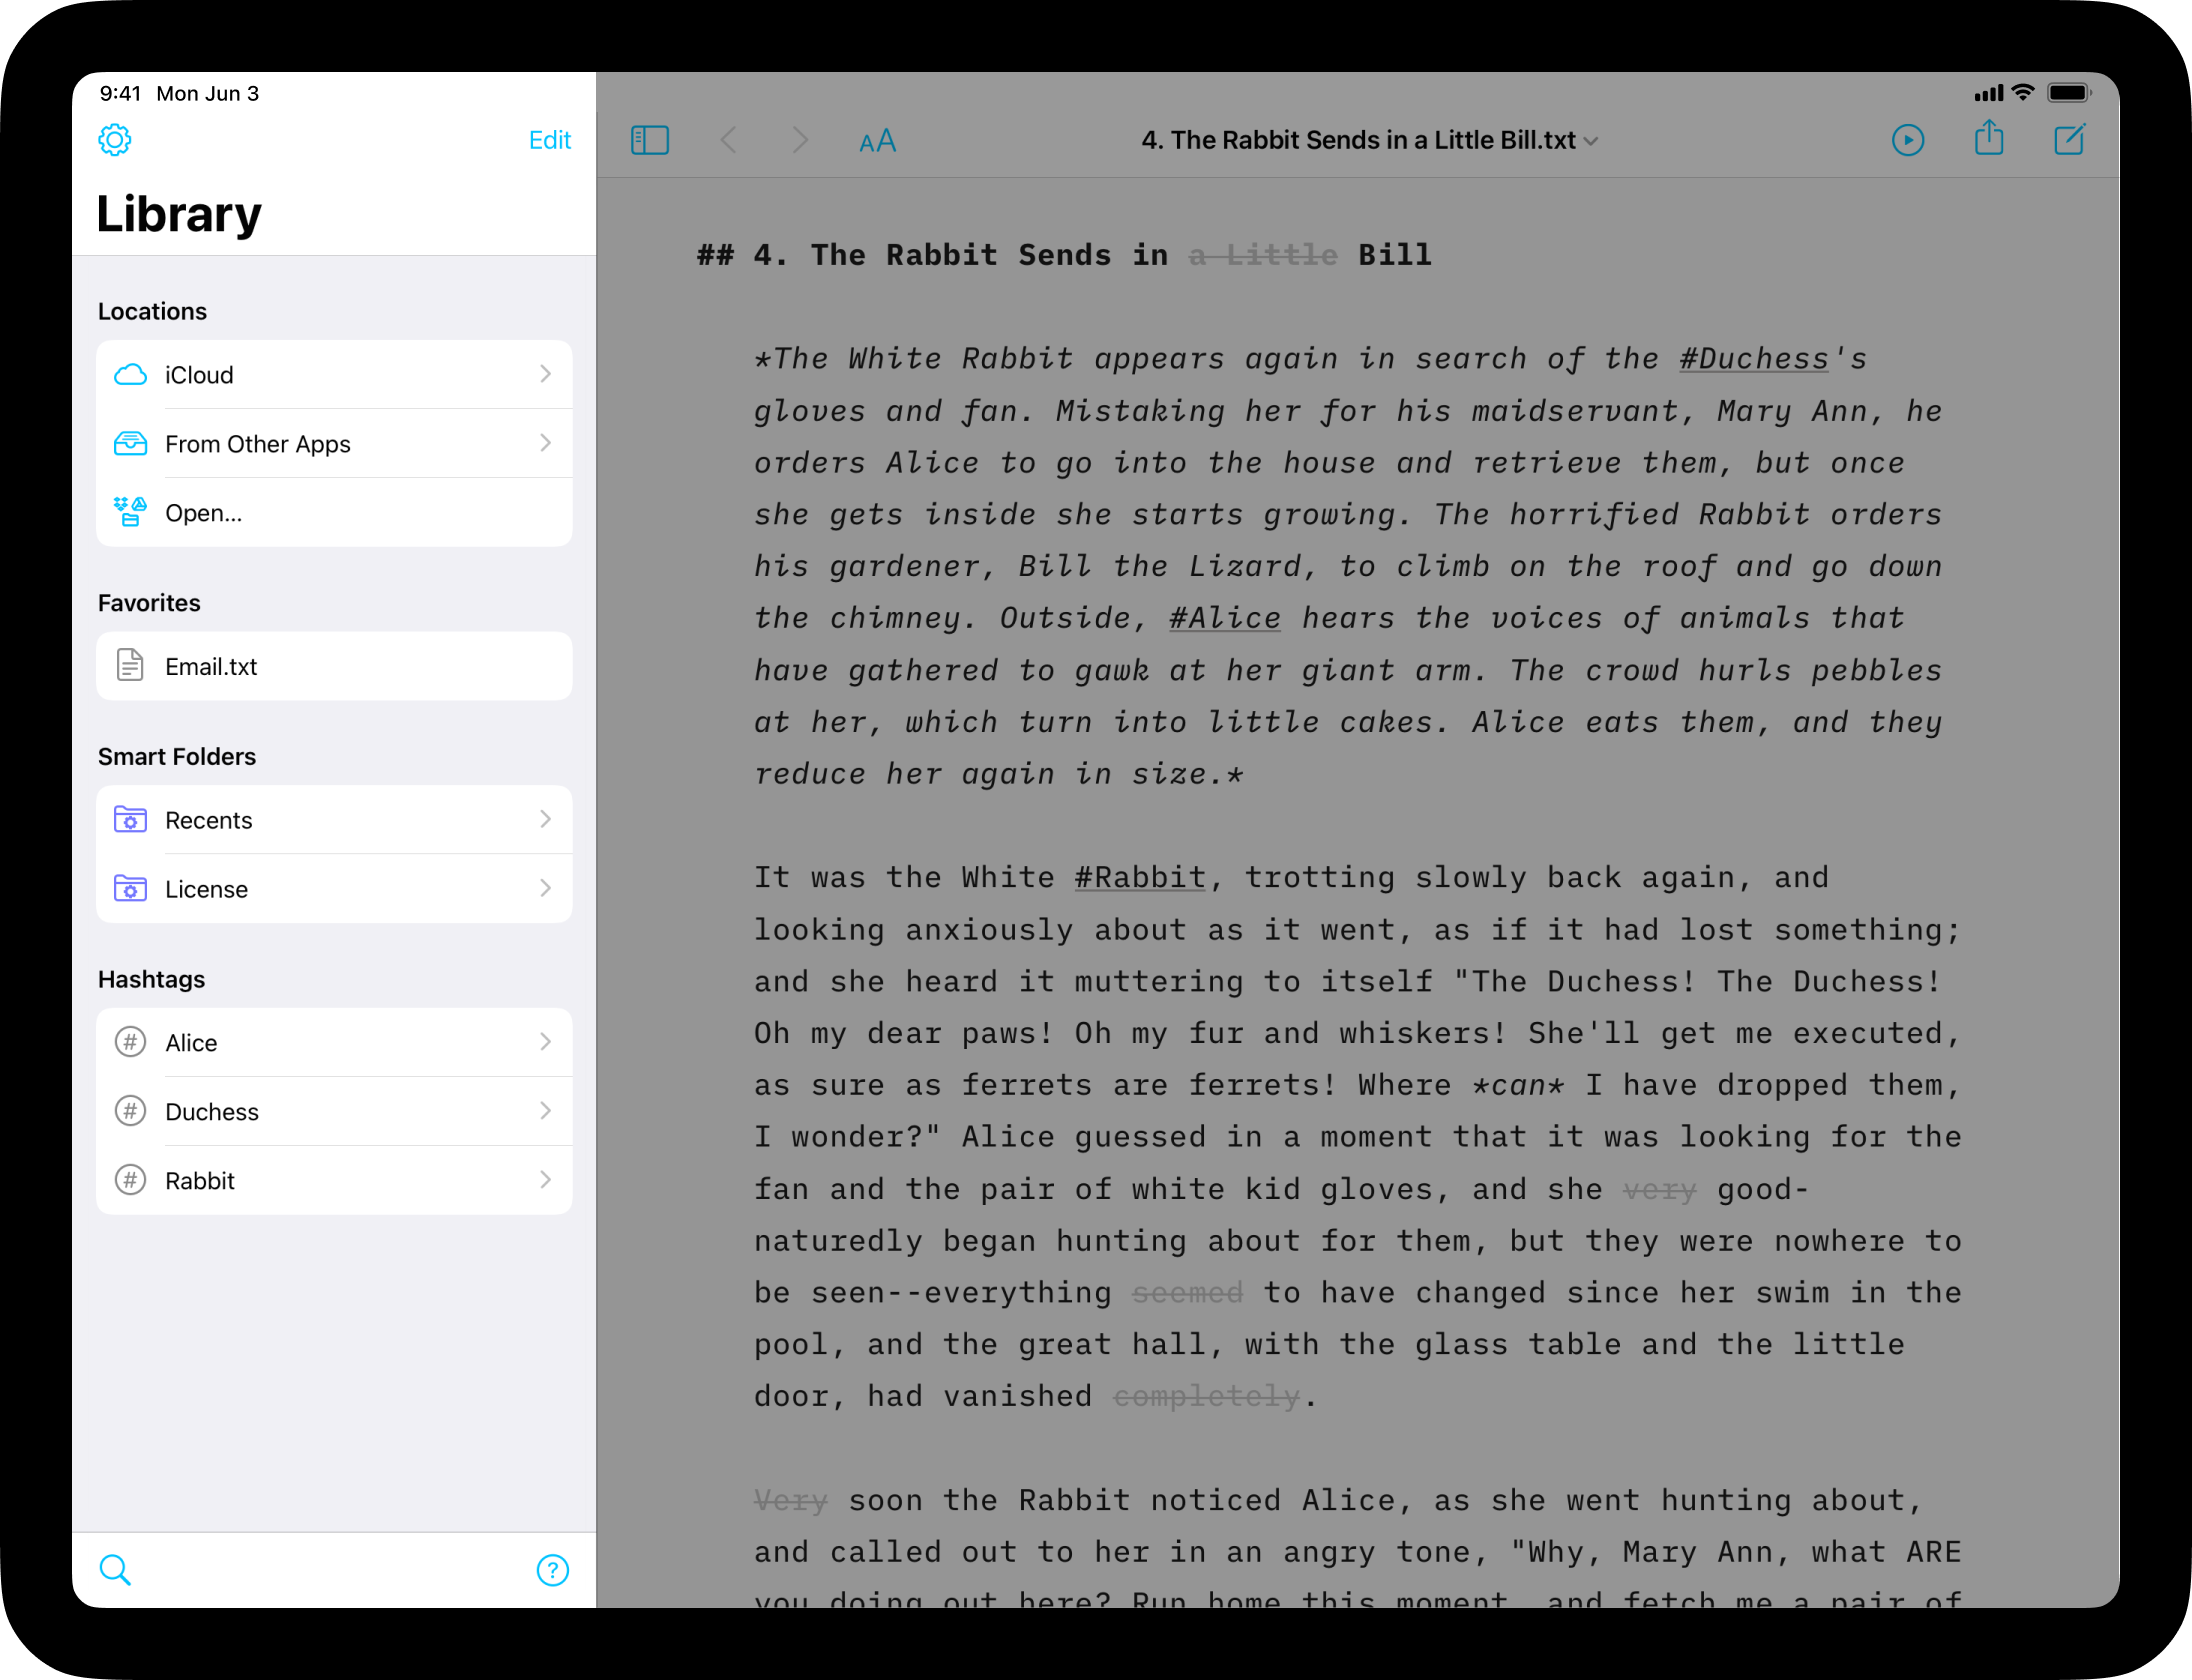
The File List will show you all the folders and files stored in the selected Location (iCloud for example). You can manage your files from there with a context menu.
Preview shows you what your formatted text looks like. It can be open side-by-side with the Editor (like below) or in full screen.
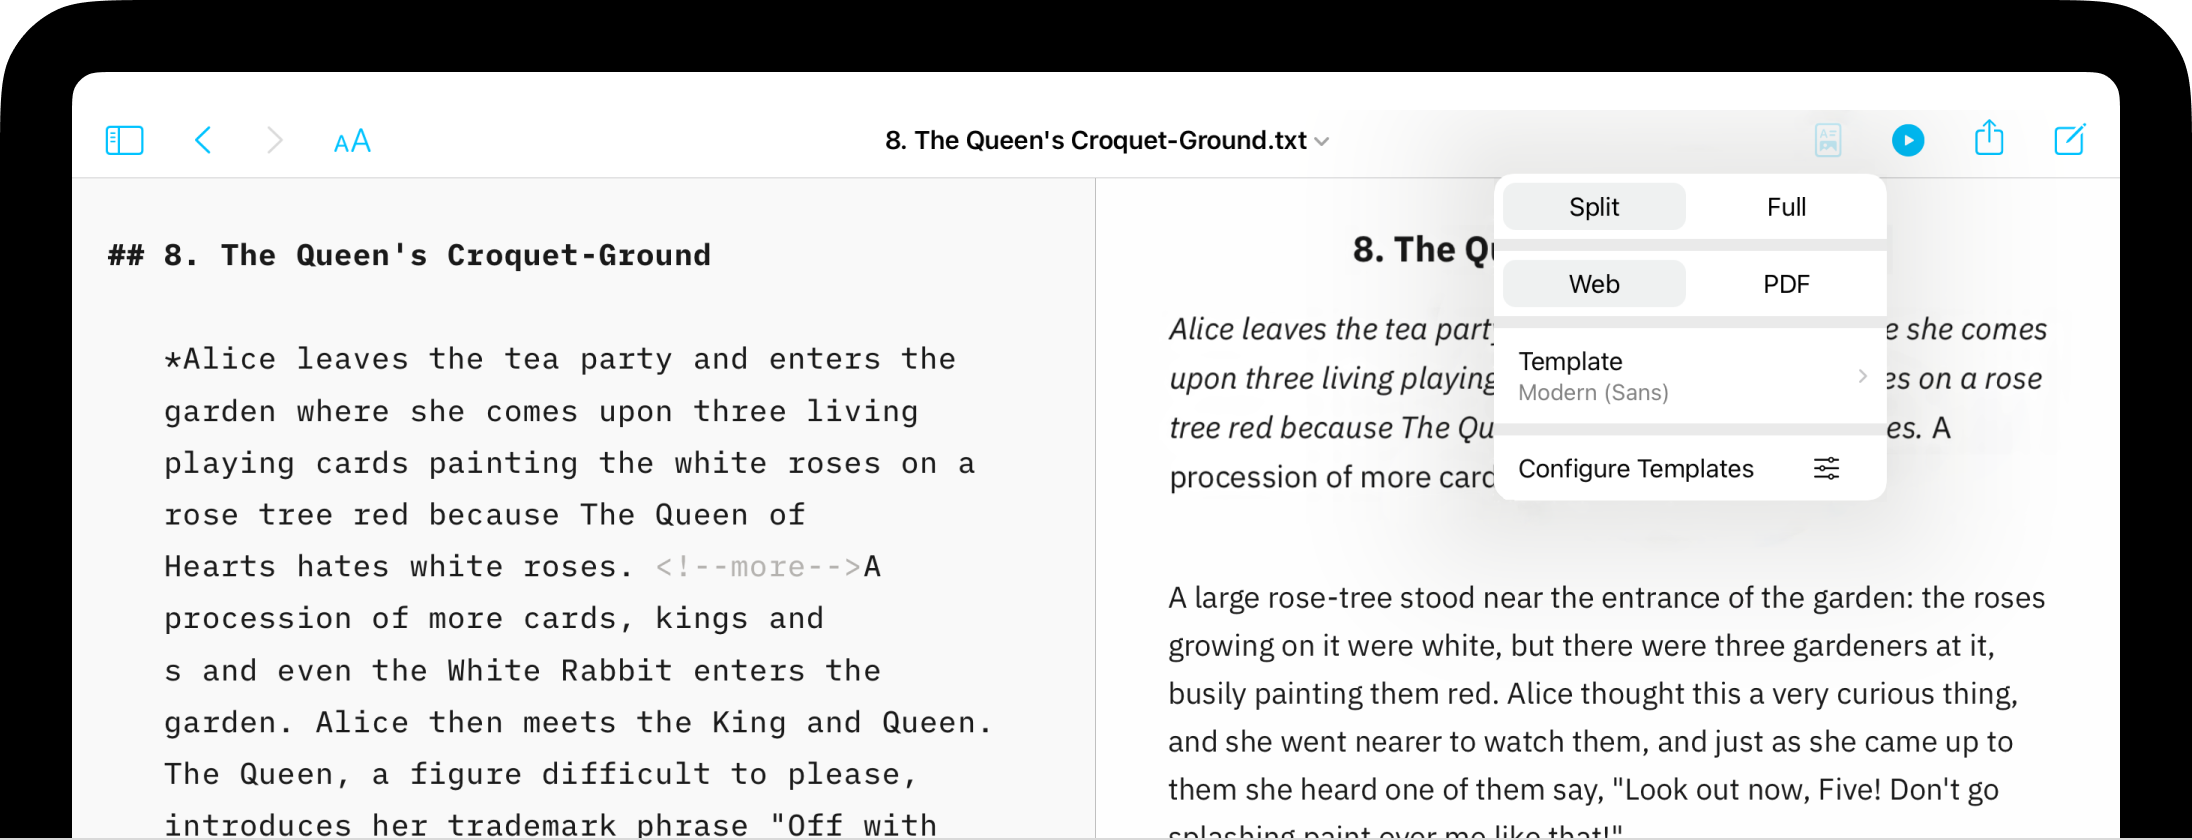
You can open and close Preview in 3 different ways:
| Open Preview | Close Preview |
|---|---|
| Swipe to the left with one finger | Swipe to the right with one finger |
| Click the right-most button in the top-right of the title bar | Same |
| Use the keyboard shortcut ⌘ R | Same |
You can display Preview in full-screen, half-screen and even invert its color (black if the Editor is white and vice-versa). To learn more about all the different possibilities, read Modify the Preview.
If you are experiencing a problem that our support section doesn’t solve please reach out to us. We take a break on the weekends (JST), but during weekdays we aim to reply within 1-2 business days.
iA Writer for Mac is composed of 3 main parts: the Editor where you write, the Library where you store your files and Preview where you can see the rendering of your document. Editor You’ll spend most of your time in the editor, in company of iA’s electric blue cursor. Writer is designed to get
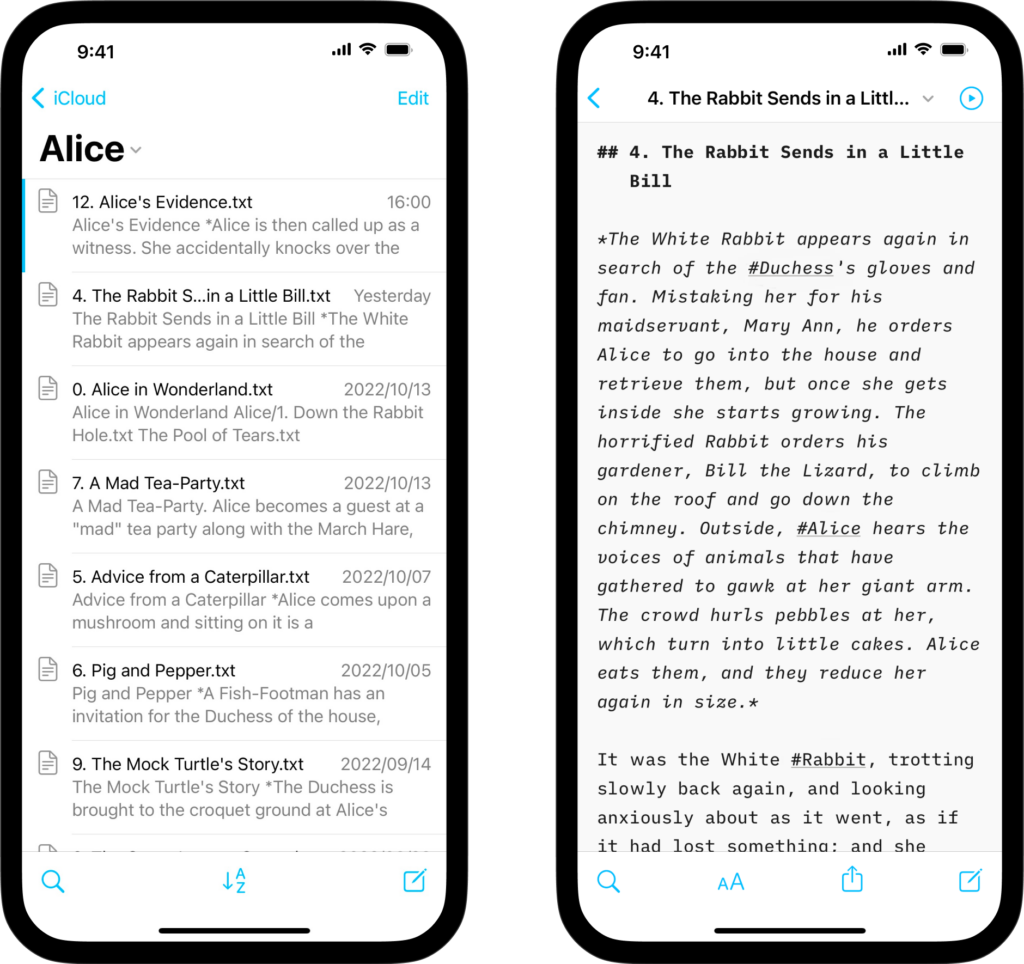
iA Writer for iPhone is composed of 3 main parts: the Editor where you write, the Library where you store your files and Preview where you can see the rendering of your document. Editor You’ll spend most of your time in the editor, in company of iA’s blue cursor. Writer is designed to get you
iA Writer for iPad is composed of 3 mains parts: the Editor where you write, the Library.
iA Writer for Android is composed of 3 mains parts: the Editor where you write, the Library where you store your files and Preview where you can see the rendering of your document. When installing iA Writer, you will find a document called “iA Writer for Android Quick Start” in Device. This is a short
iA Writer for Windows is composed of 3 mains parts: the Editor where you write, the Library where you store your files and Preview where you can see the rendering of your document. Editor You’ll spend most of your time in the editor, in company of iA’s electric blue cursor. Writer is designed to get